SafeGuest + Lodgify: Adding Guest Protection to Every Booking
12 November 2026
More Confidence in Every Booking
Running a vacation rental business means keeping track of bookings, coordinating guest communication, managing payments, and making sure each property is ready for the next arrival. With so many moving parts, guest screening and property protection can add another layer of work for hosts and property managers.
The partnership between Lodgify and SafeGuest helps address that challenge by bringing guest protection tools into the reservation process. Lodgify users can access automated guest verification, AI-powered risk analysis, deposit options, and damage protection to help identify potential concerns before they become bigger problems.
Best of all, SafeGuest is free for Lodgify users, making it easier for independent hosts and property managers to add another layer of protection without taking on additional software costs.
About Lodgify
Since 2013, Lodgify has helped independent vacation rental hosts and property managers simplify the day-to-day work of running their businesses. Its all-in-one platform brings bookings, calendars, guest communications, and payments together, connecting reservations from booking channels and direct booking websites in one centralized system.
With a presence spanning more than 180 countries and a reported 90% customer satisfaction score for its support, Lodgify serves a global community of vacation rental professionals. Its platform helps users spend less time managing disconnected systems and manual tasks, leaving more room to focus on their properties and guests.
By partnering with SafeGuest, Lodgify expands the tools available to hosts who want to take a more proactive approach to guest screening and property protection. The integration complements Lodgify’s existing reservation management capabilities with additional checks and protection options, helping hosts make more informed decisions.
Open the interactive Lodgify walkthrough
Connect Your Lodgify Account to SafeGuest
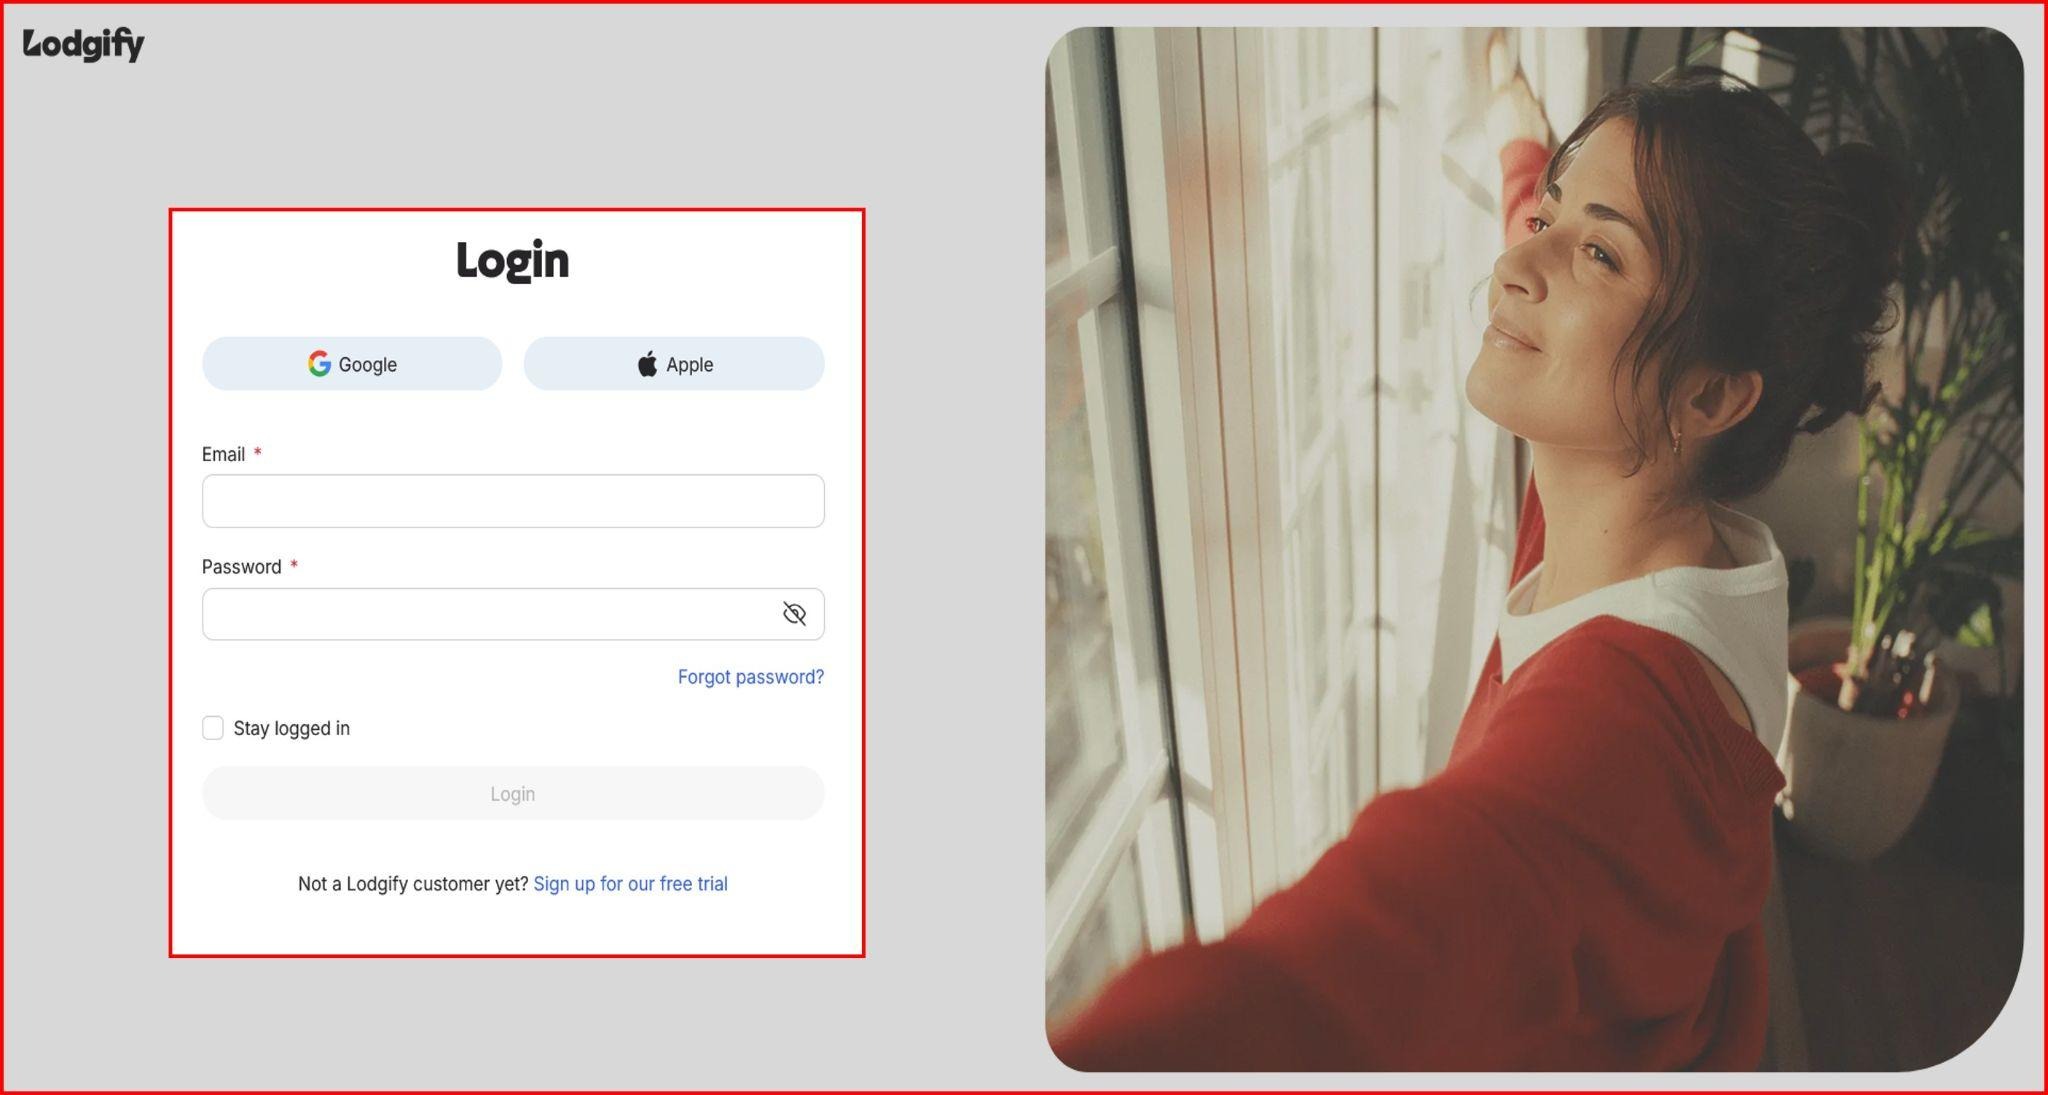
Step 1: Log in to Lodgify
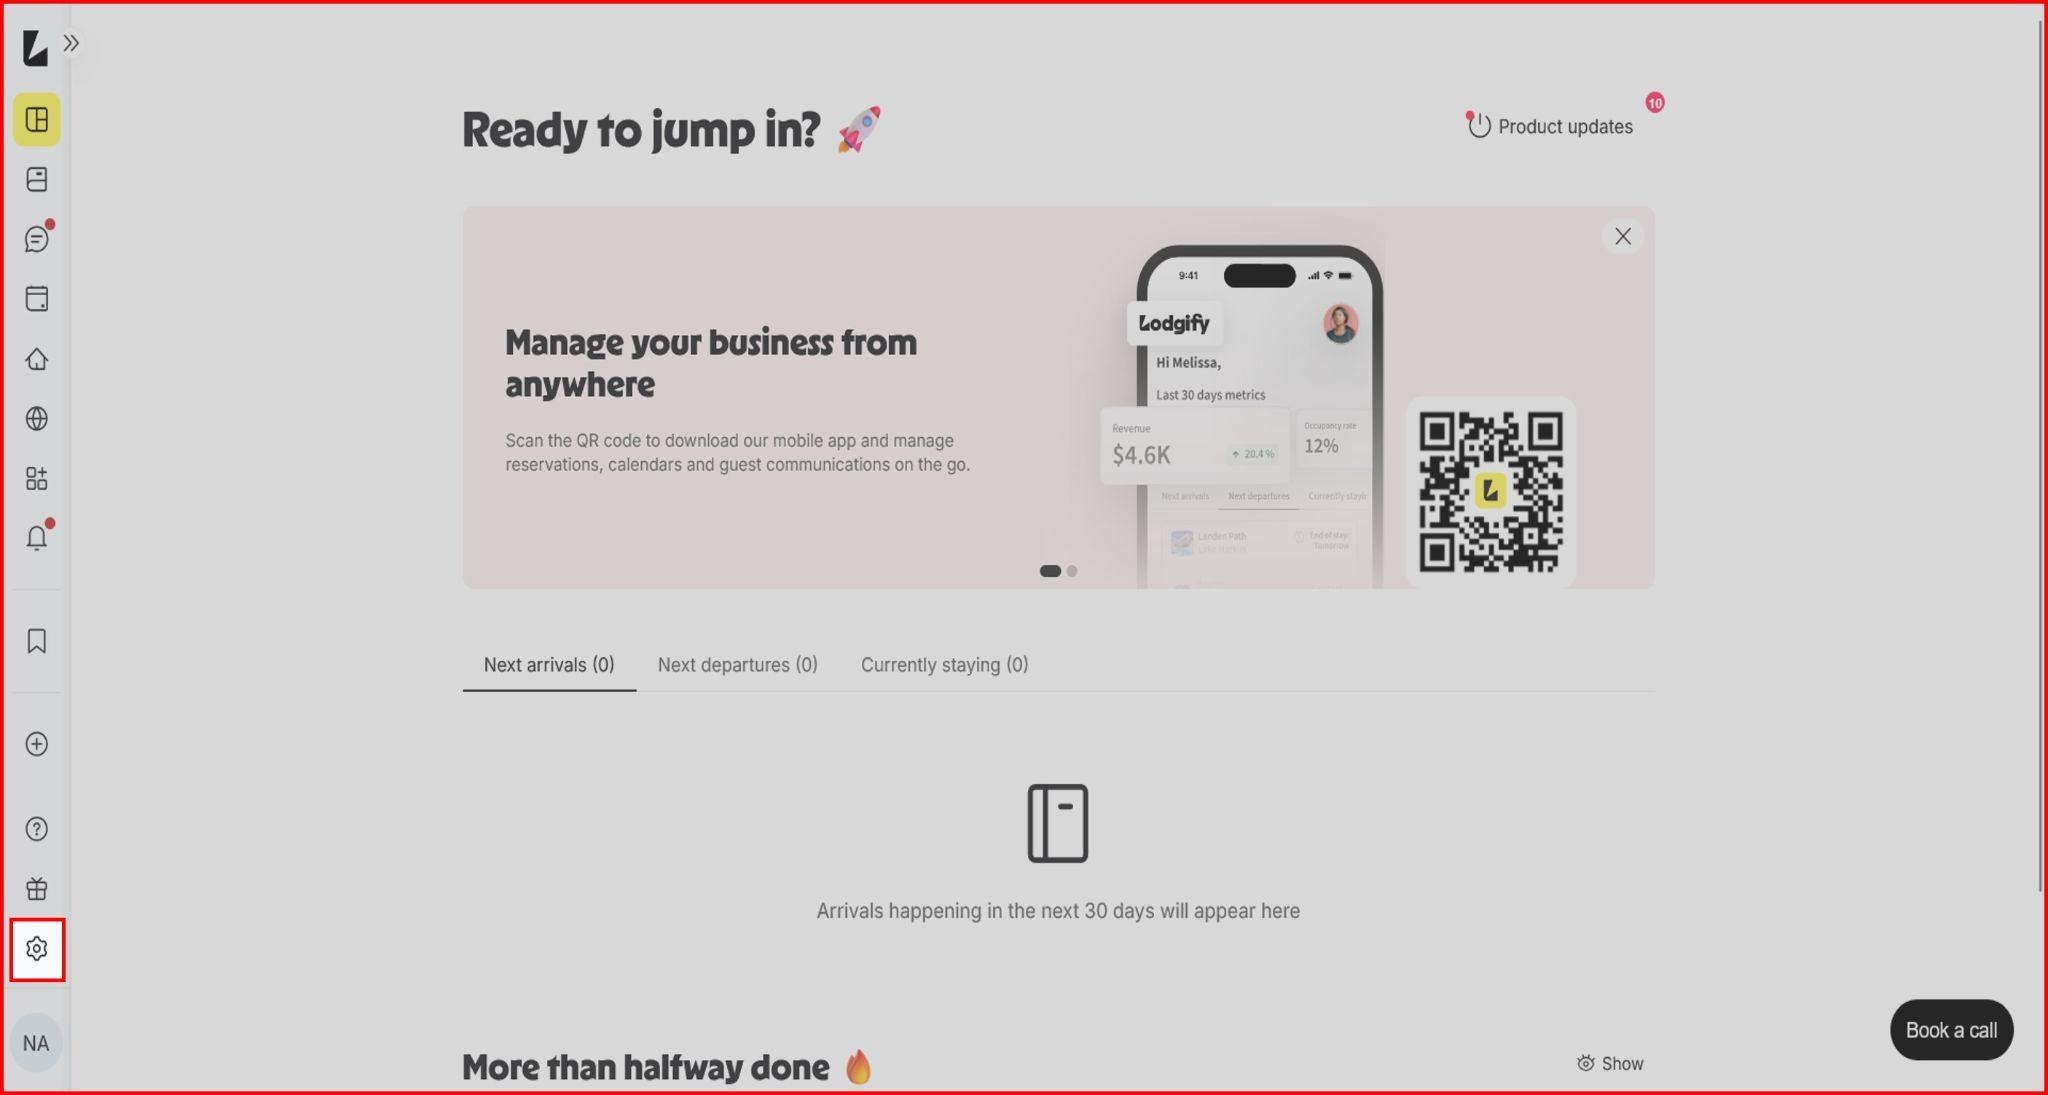
- Log into your Lodgify account.
- Once you are logged in, you will land on the Overview page
- Click on “Settings” button
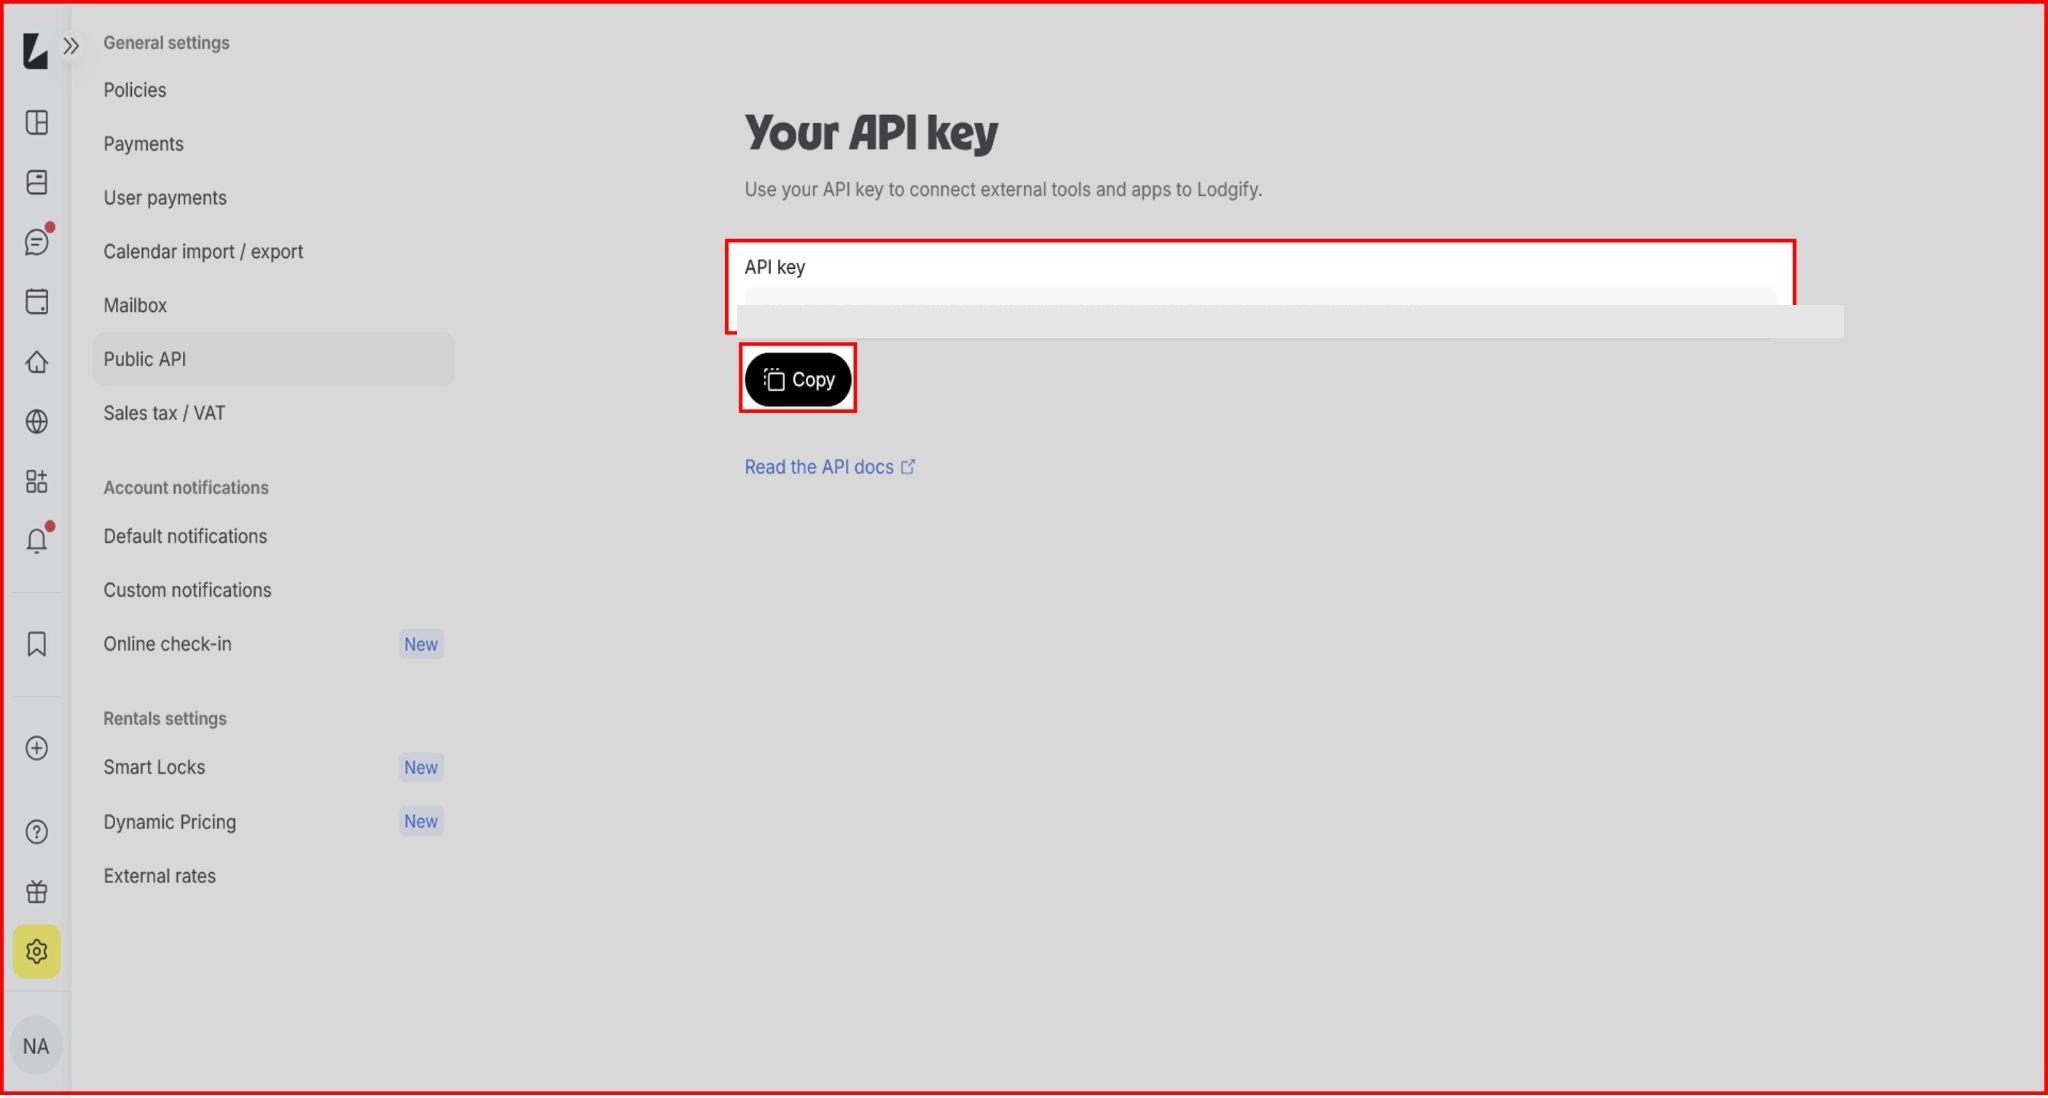
Step 2: Navigate to the Public API
- Click on Public API from the side navigation.
- Then click on the Copy button to get the API Key.
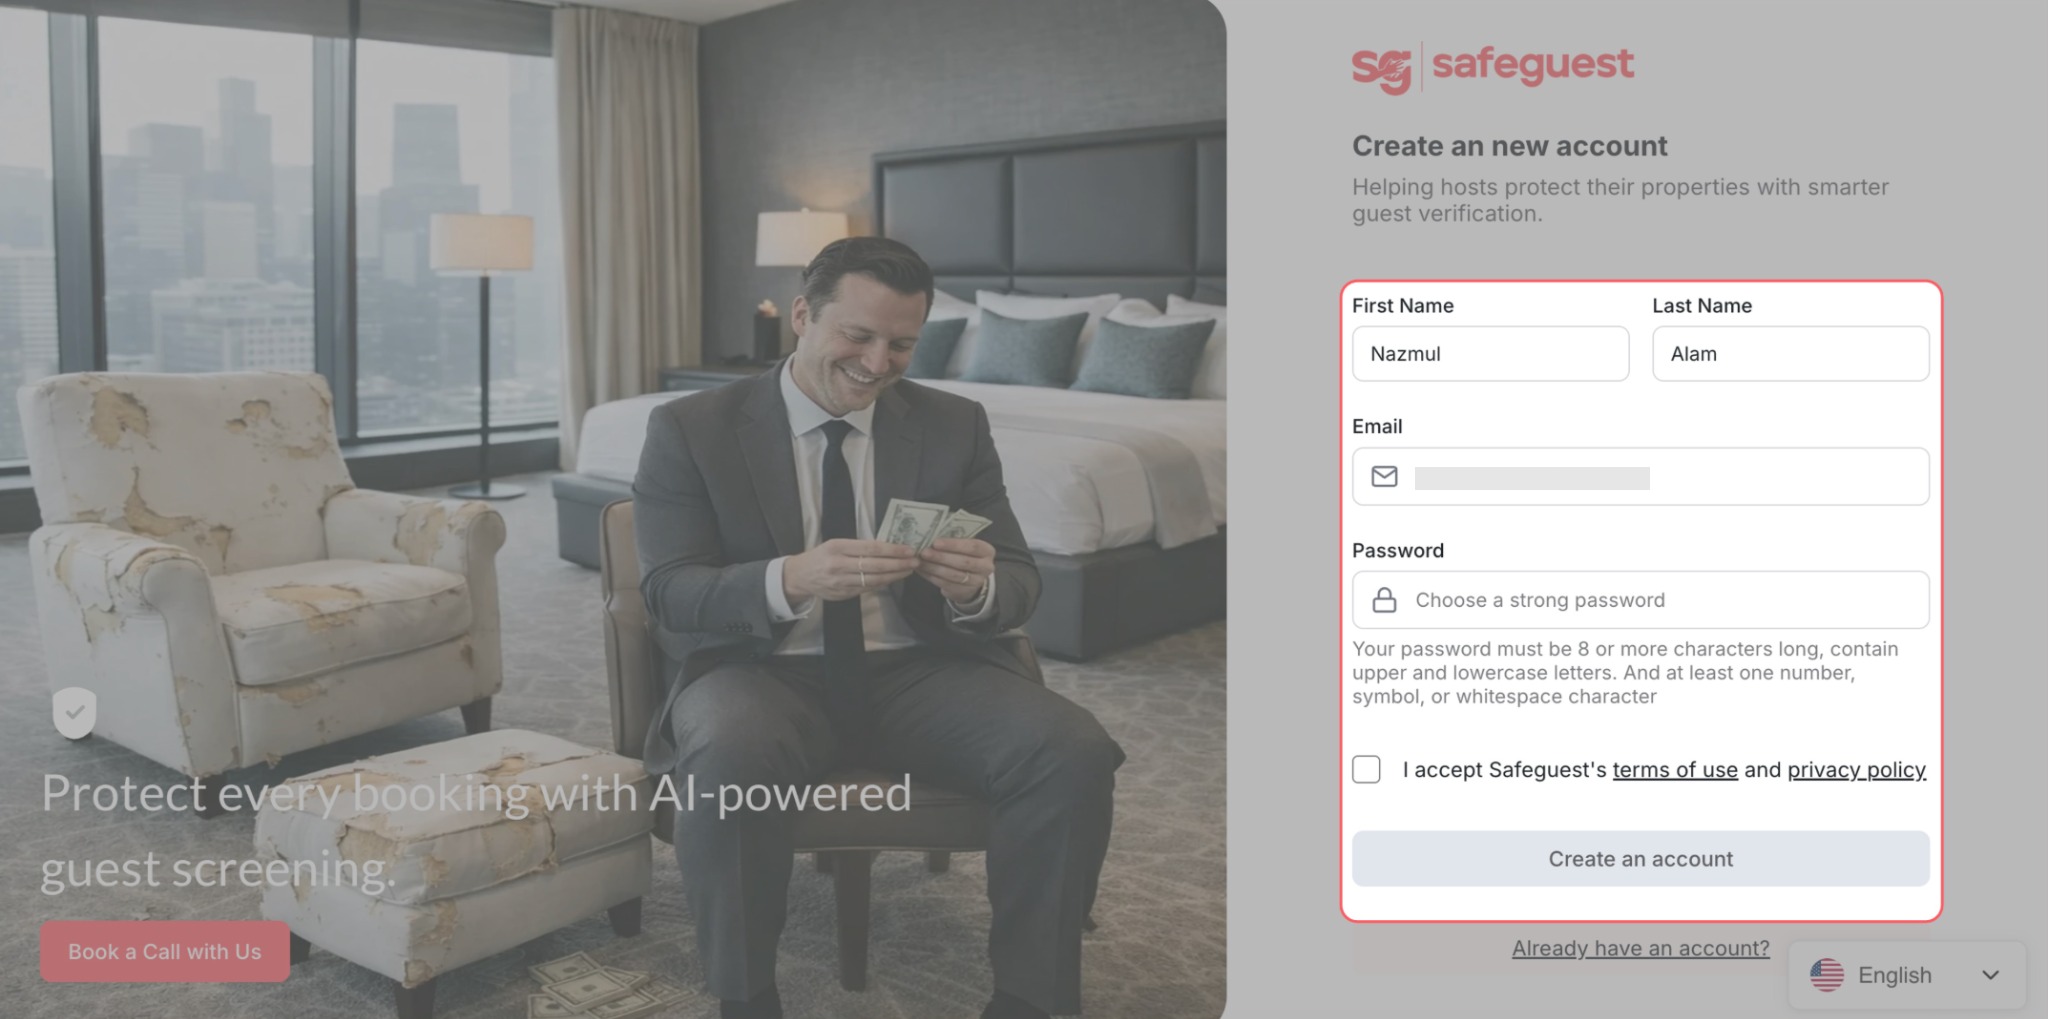
Step 3: Create your SafeGuest Account
- Navigate to: app.safeguest.ai
- Enter your details
- Accept the terms and conditions
- Click the “Create an account” button
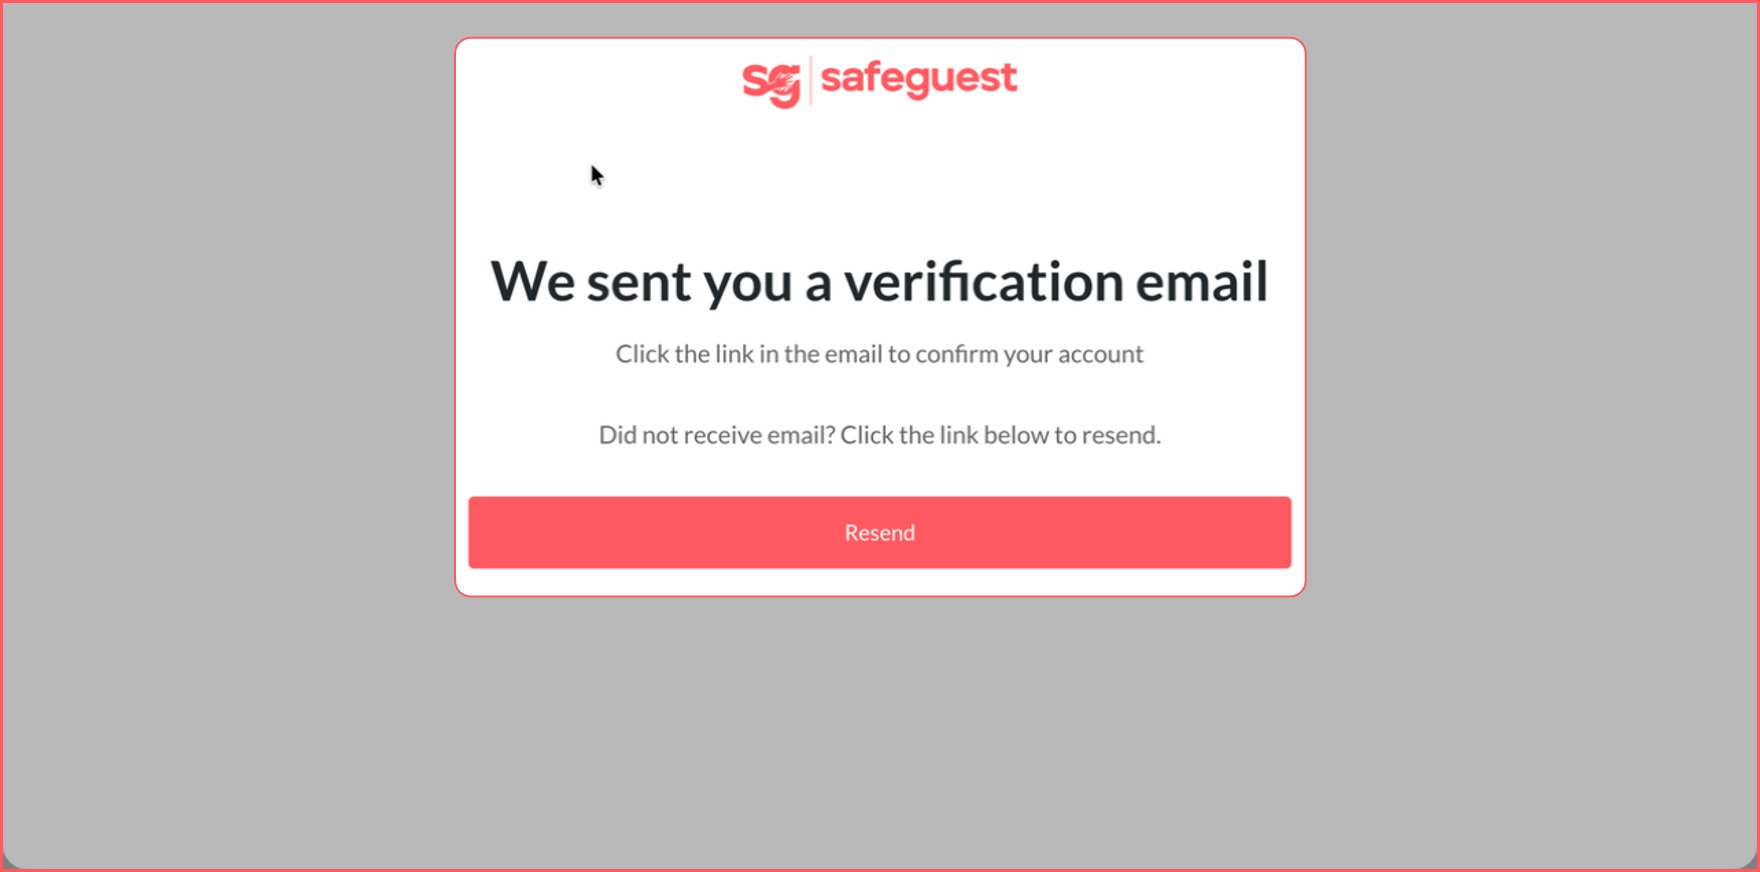
Step 4: Verify Your Email Address
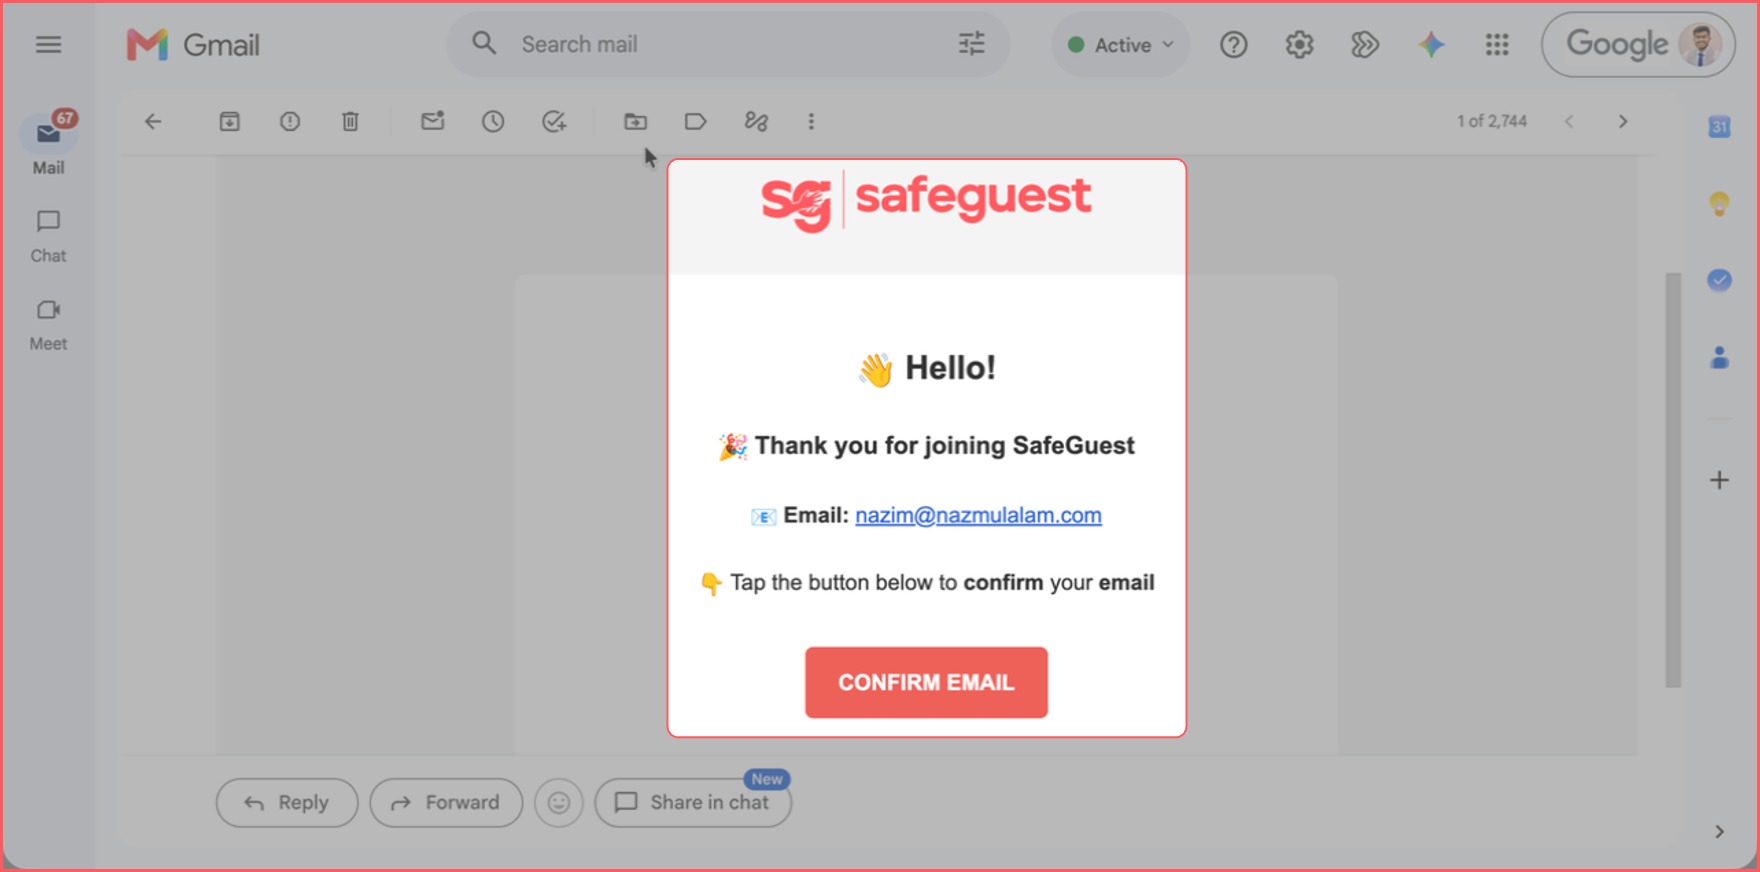
- A verification email will be sent to the registered email address
- Open your inbox and click “Confirm Email”
- Click “Continue” on the confirmation page
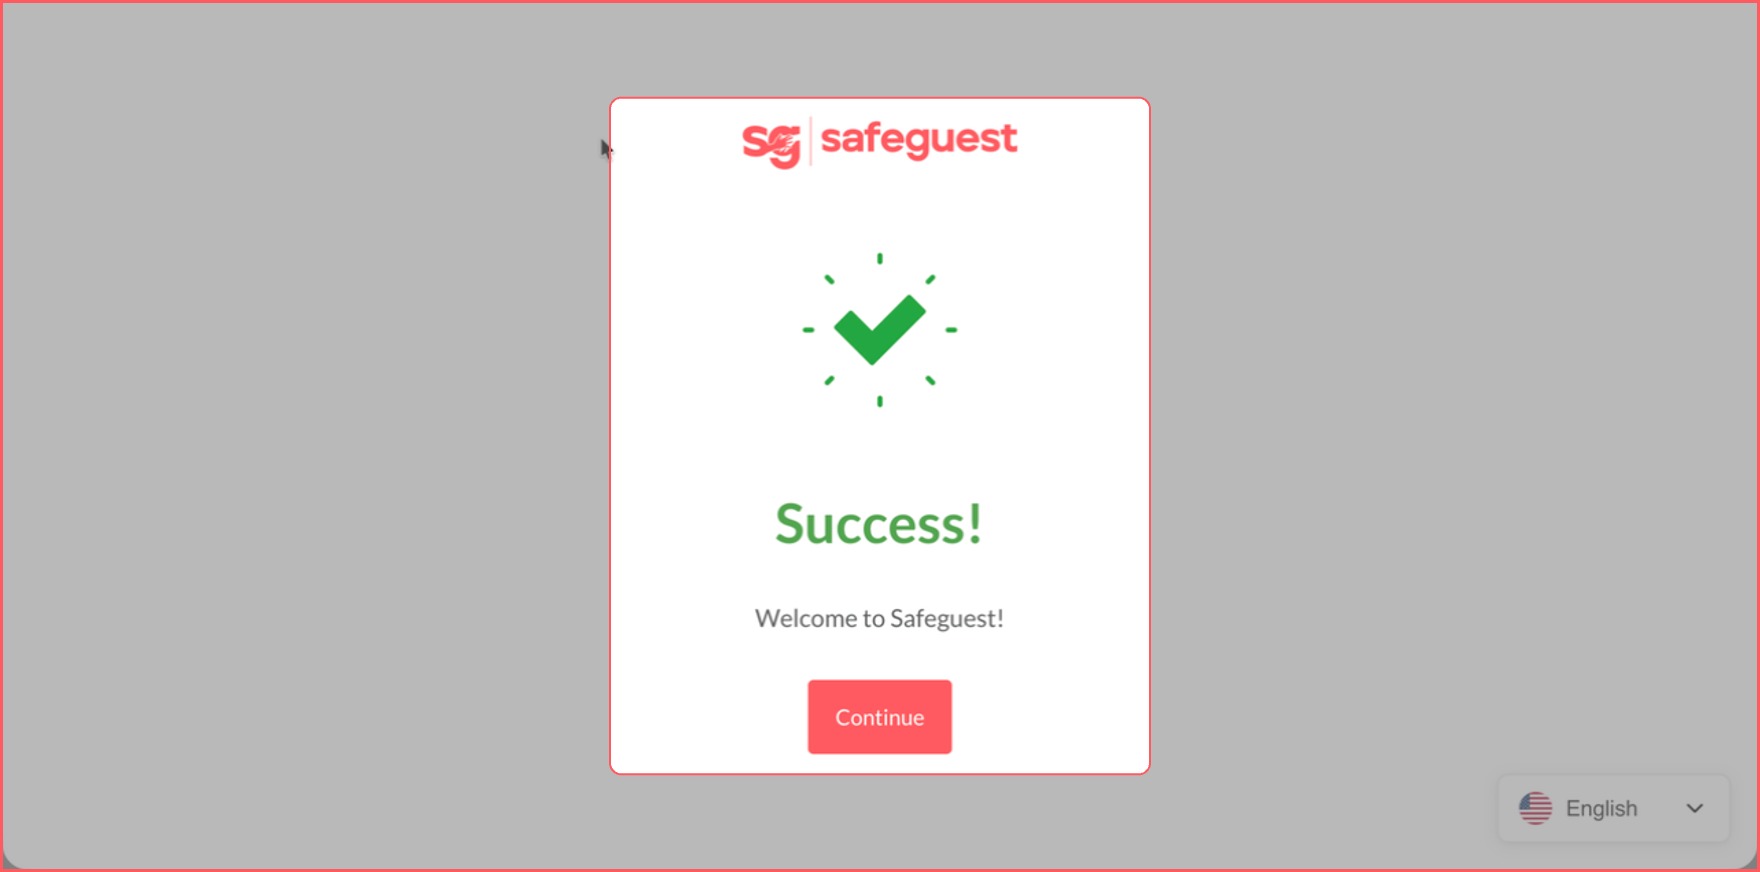
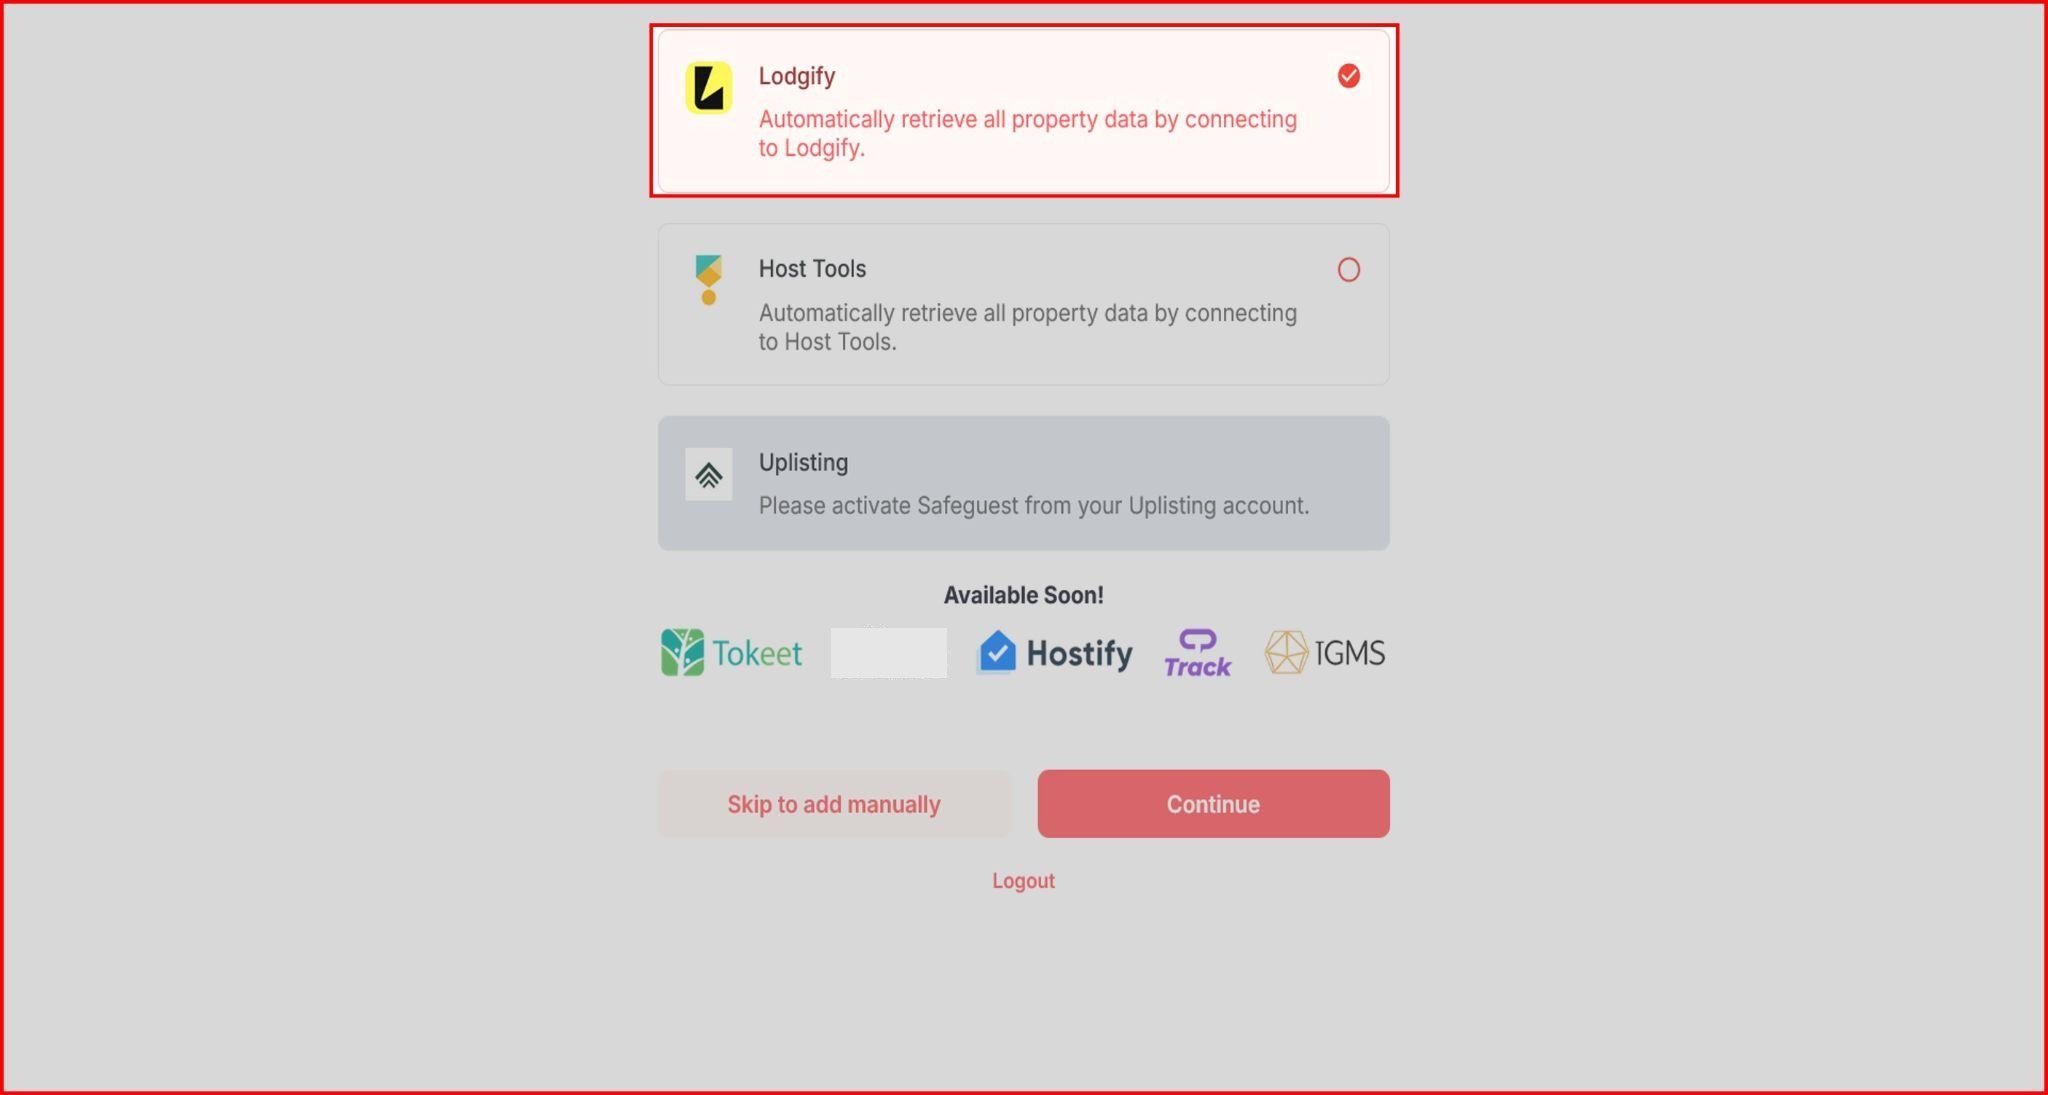
Step 5: Select Lodgify During Onboarding
- On the SafeGuest onboarding screen, select Lodgify from the list of integrations, and click the “Continue” button.
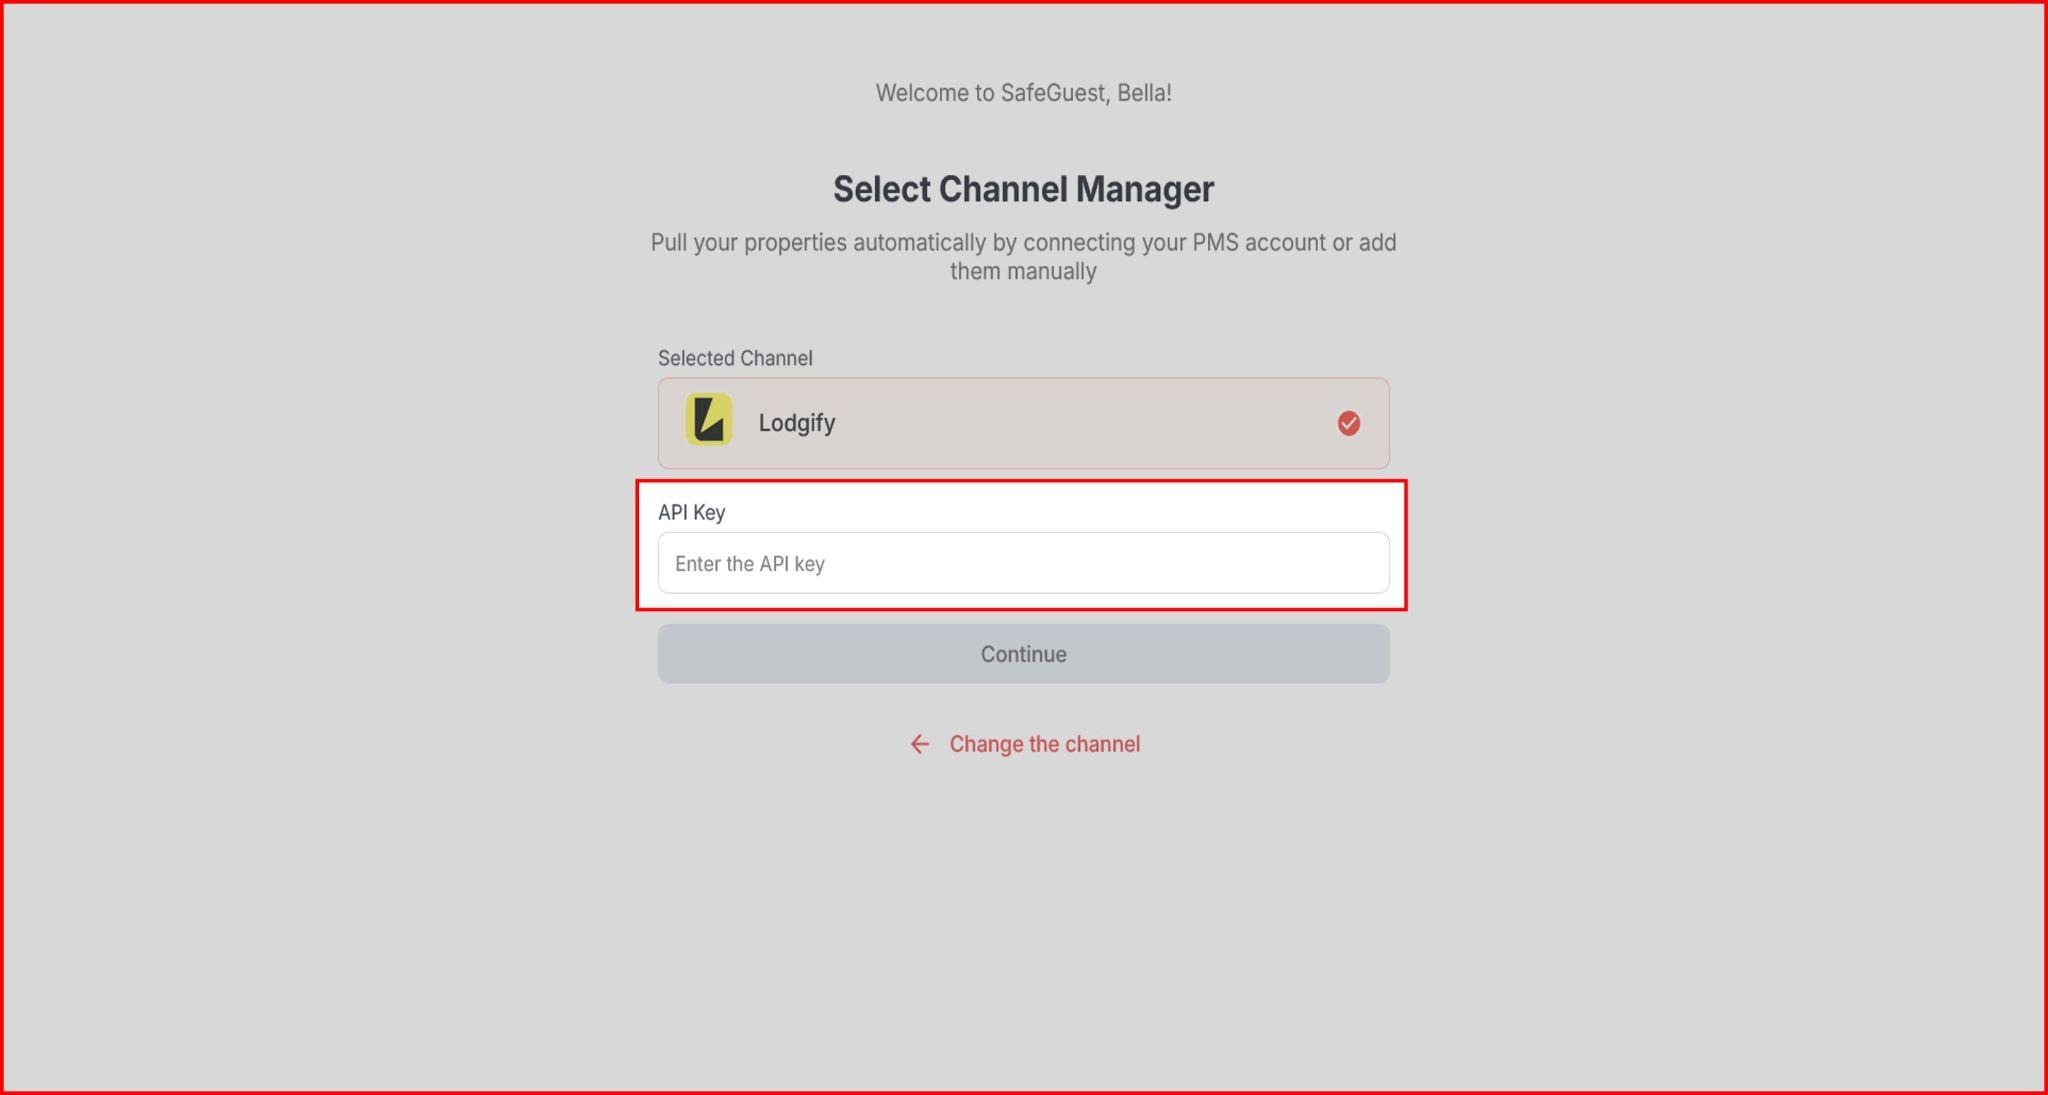
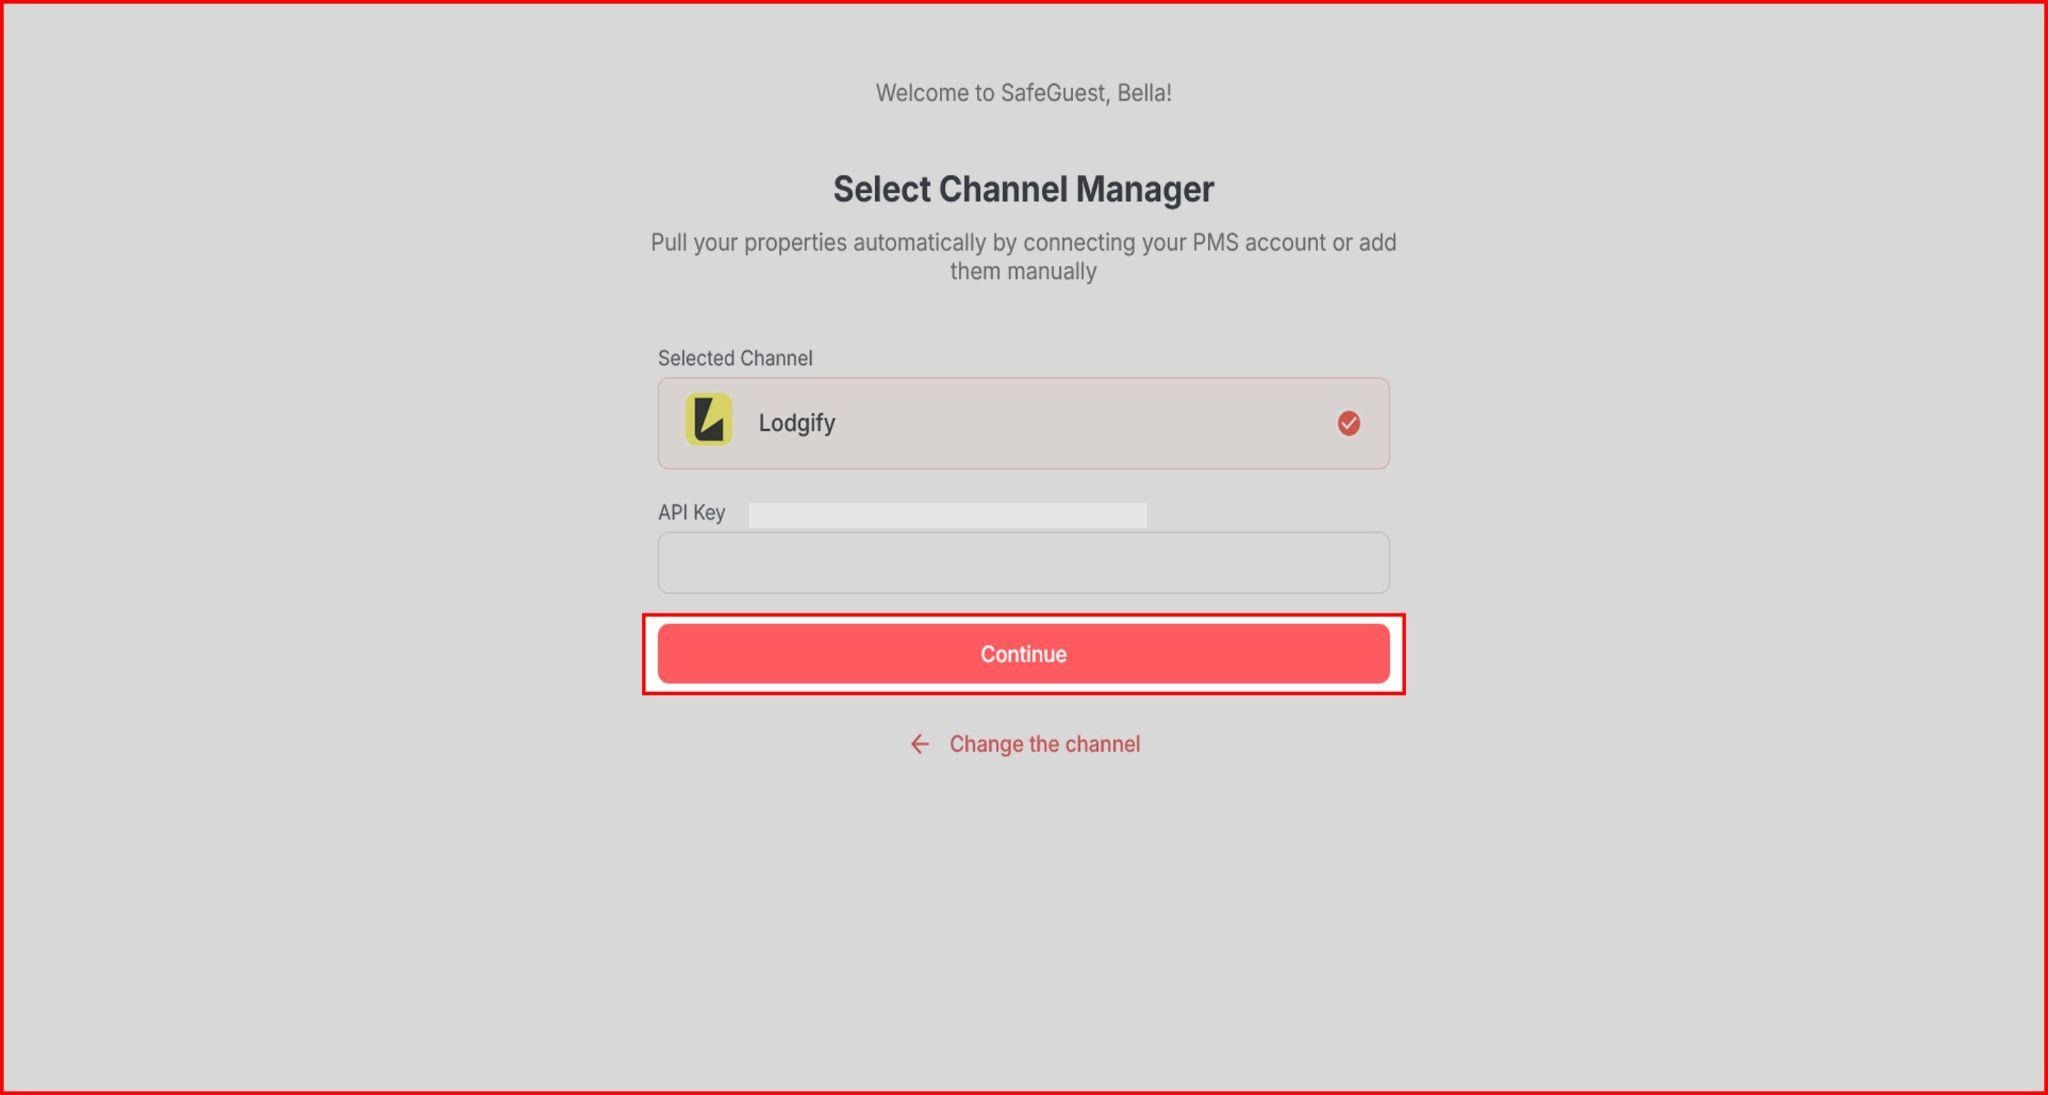
- On the next screen, enter the copied “API Key” and click the “Continue” button.
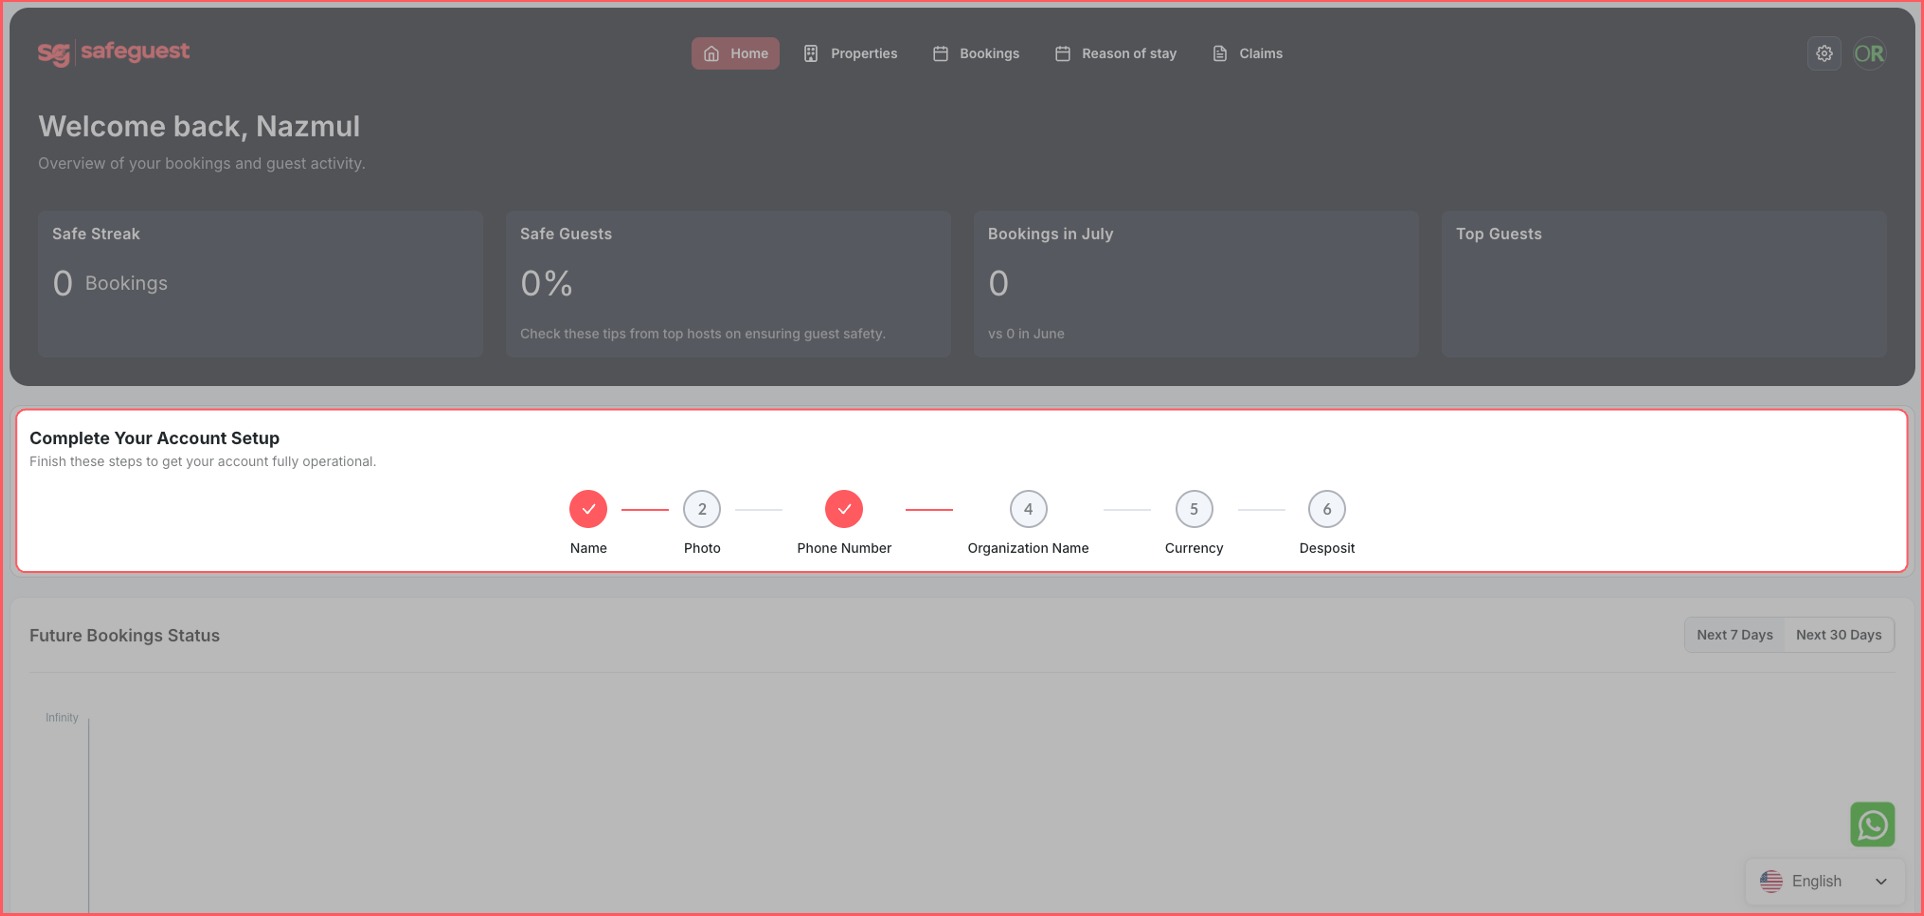
Step 6: Complete the Setup Banner Steps
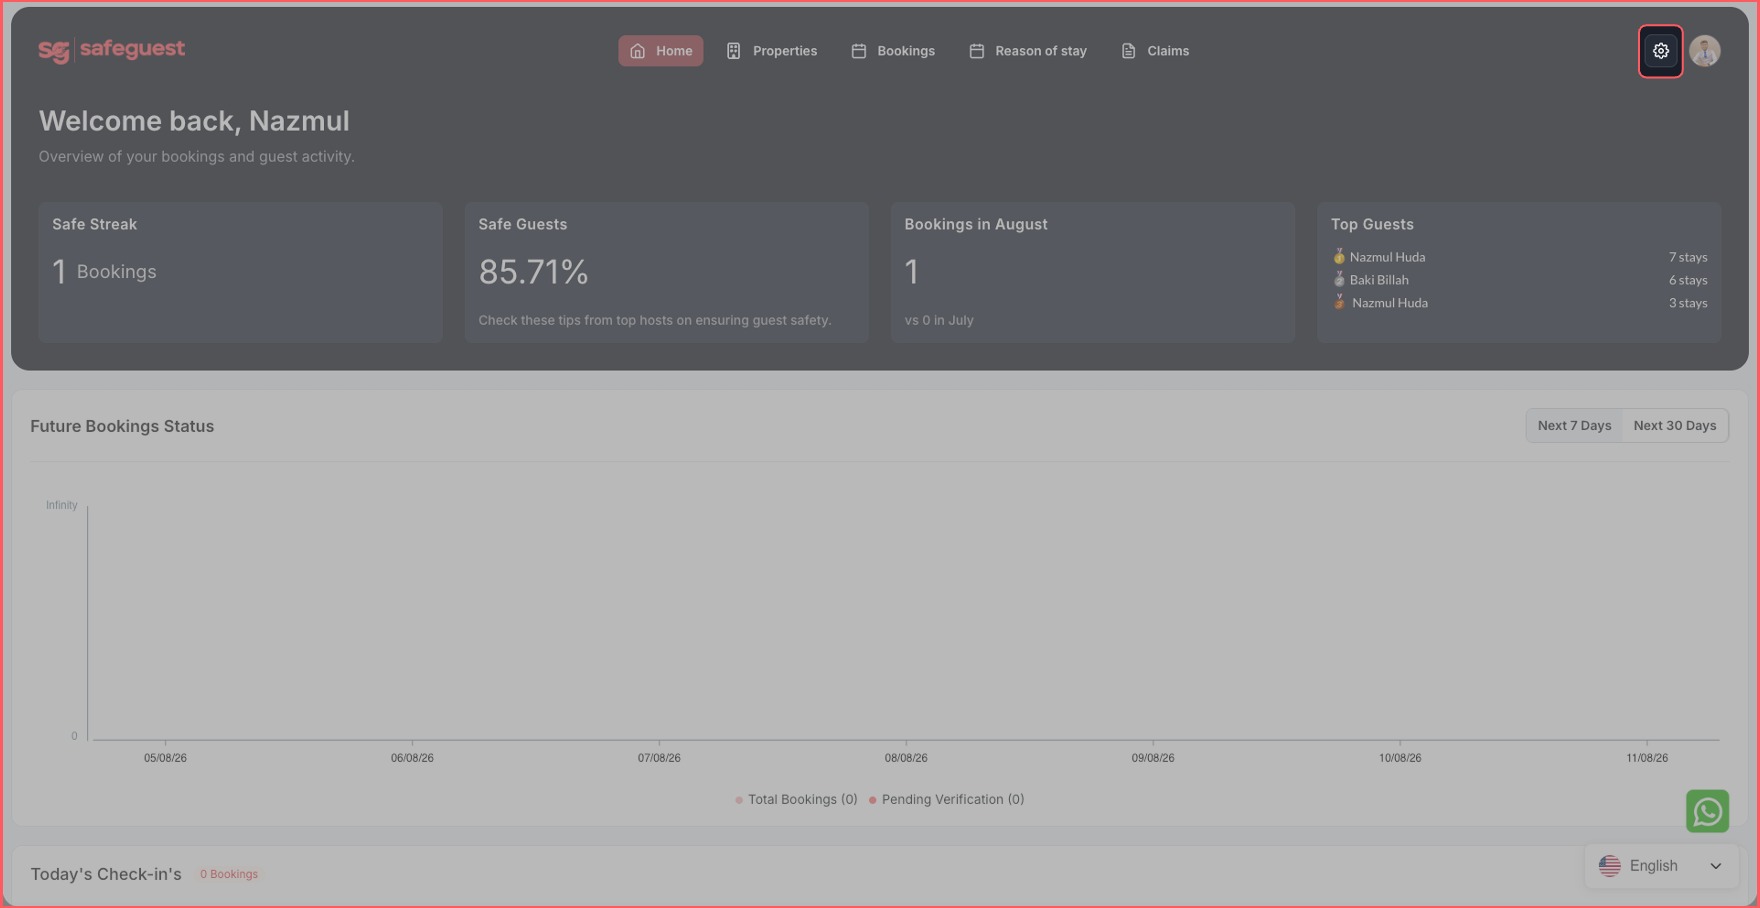
Step 7: Go to your SafeGuest Settings Page
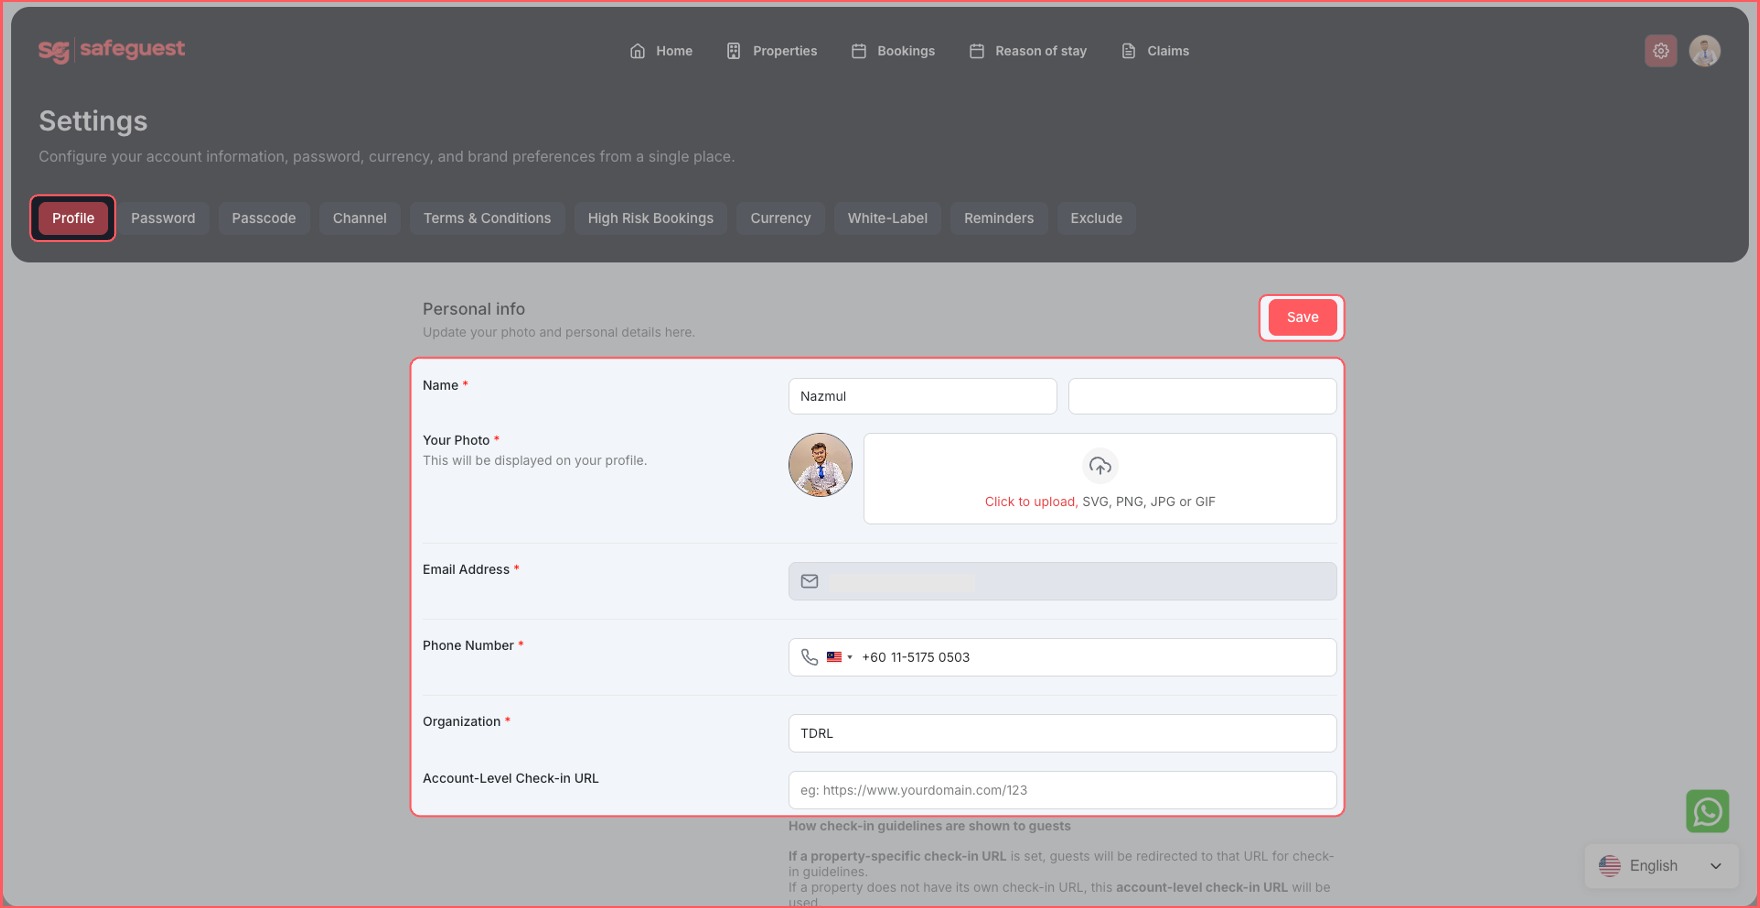
Step 8: Update Profile Details
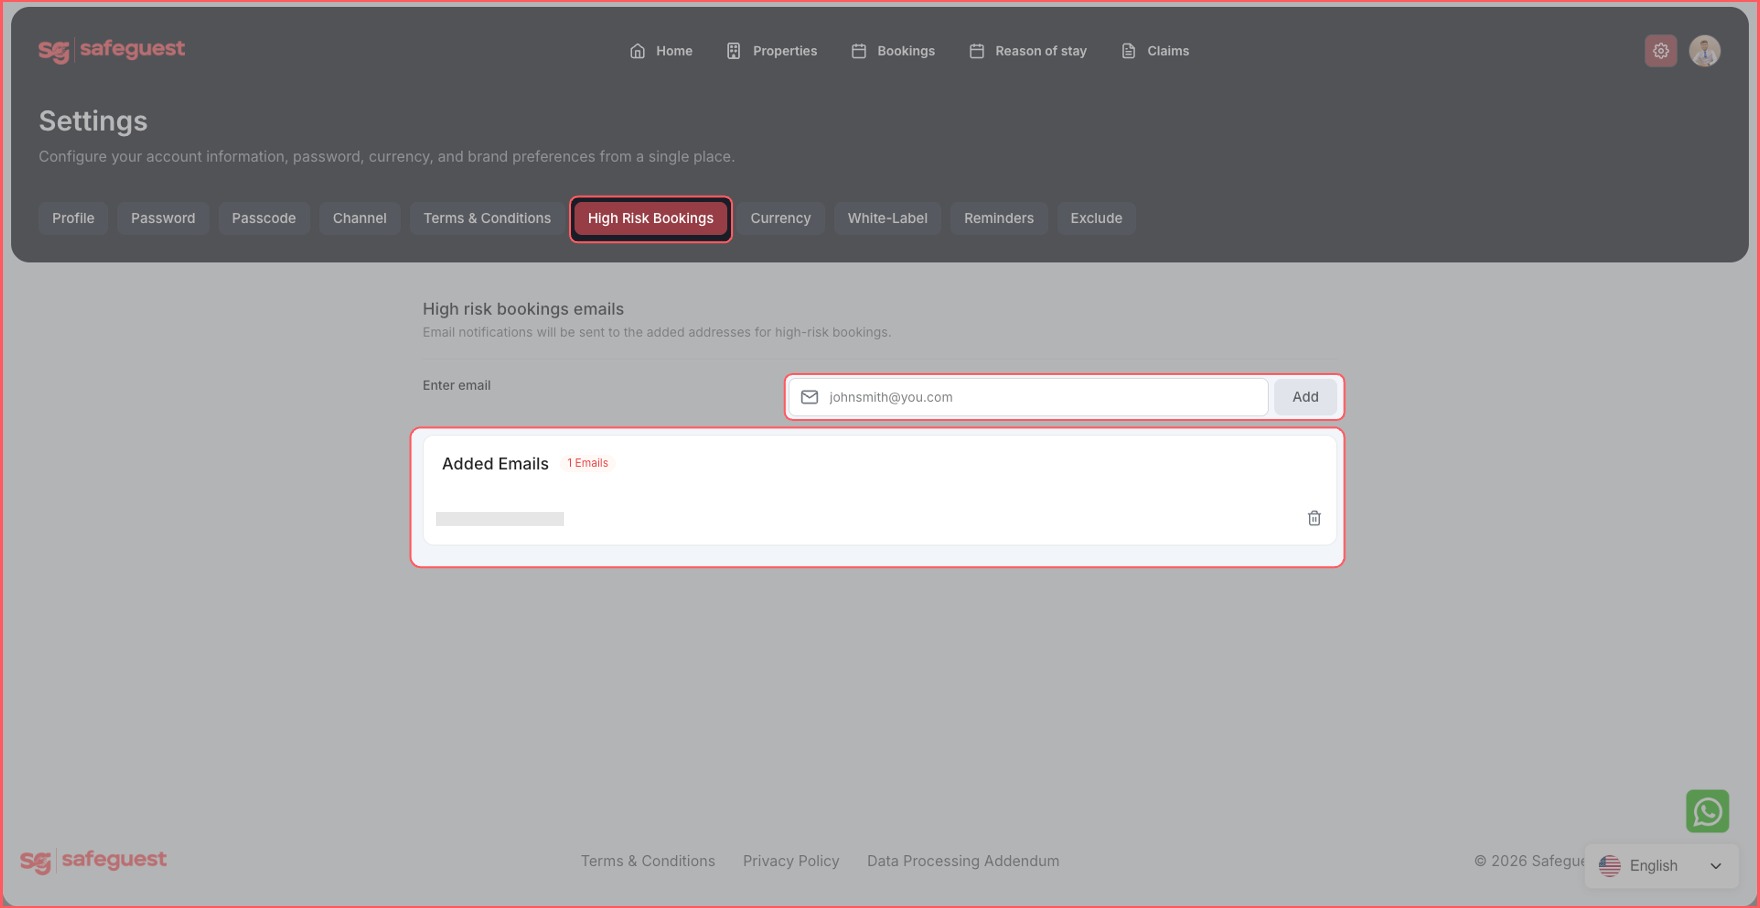
Step 9: Setup High Risk Bookings Details
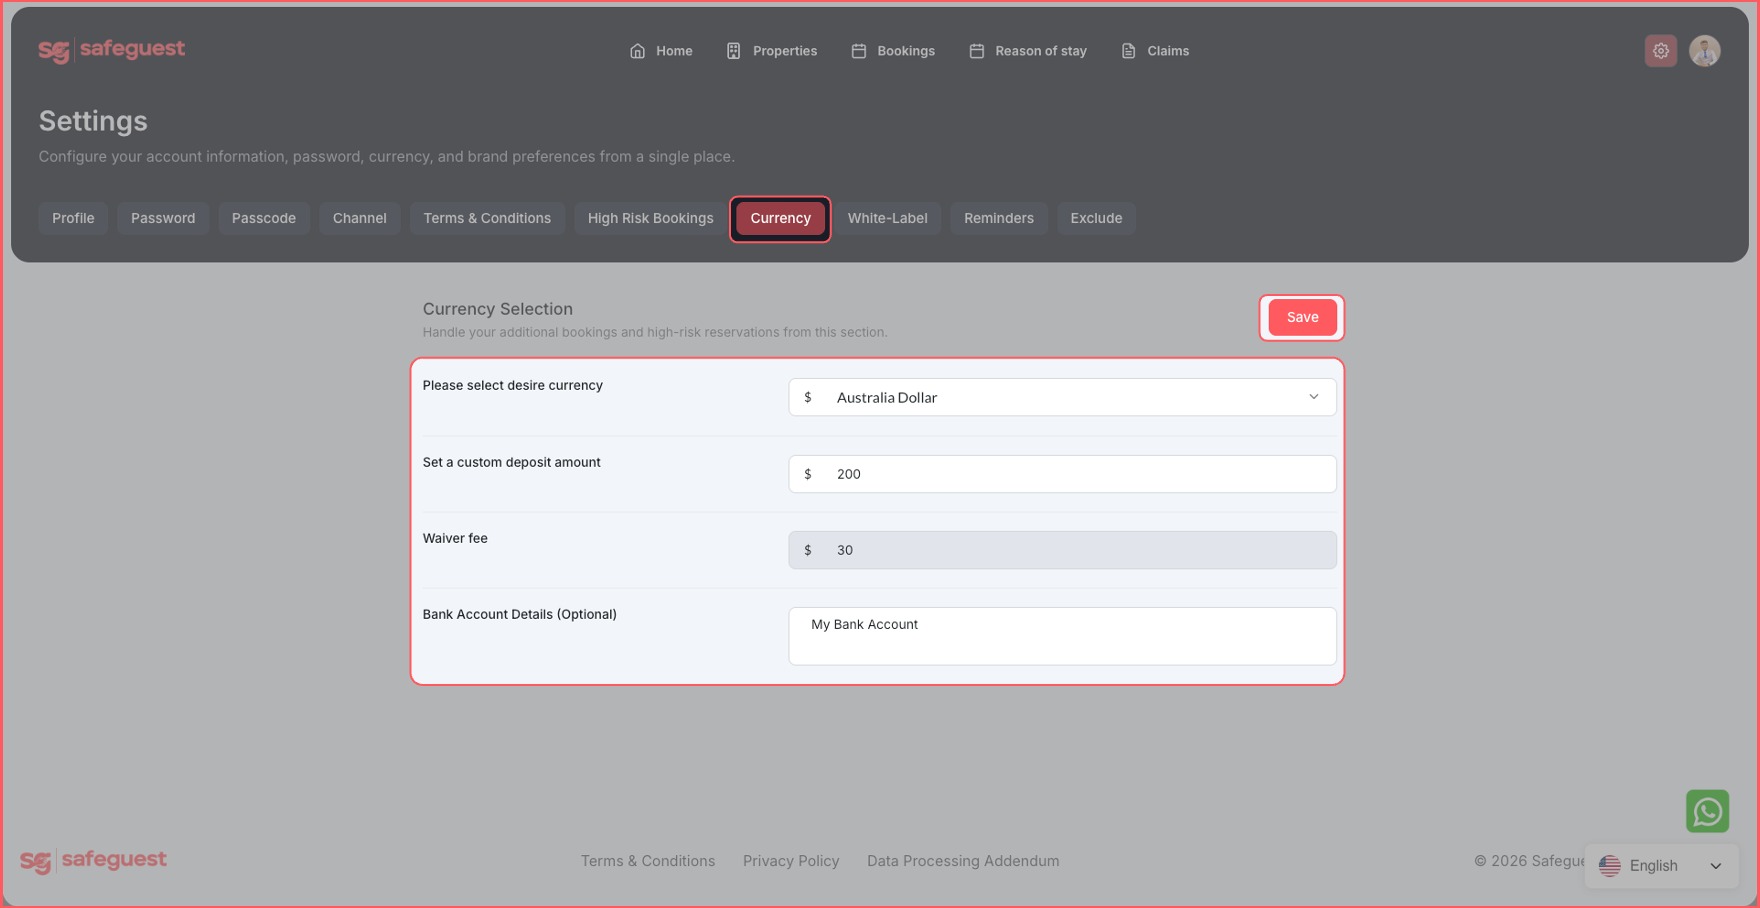
Step 10: Setup Currency and Security Deposit Details
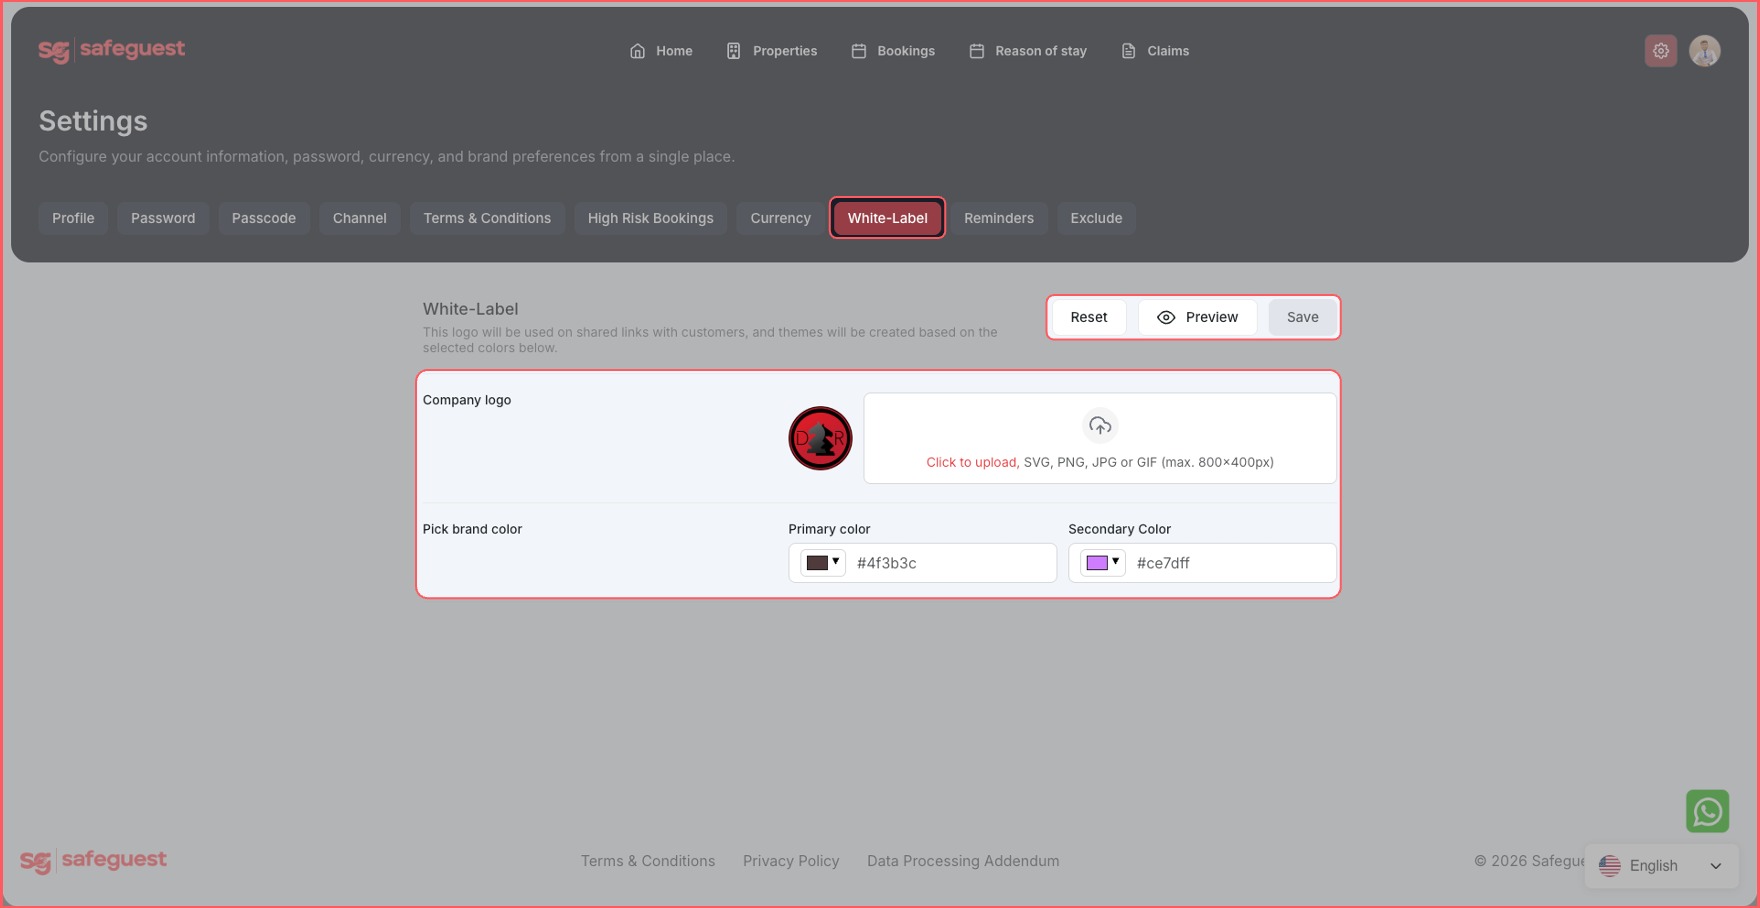
Step 11: Setup White Label Details
- Add your Company Logo and Brand Colors
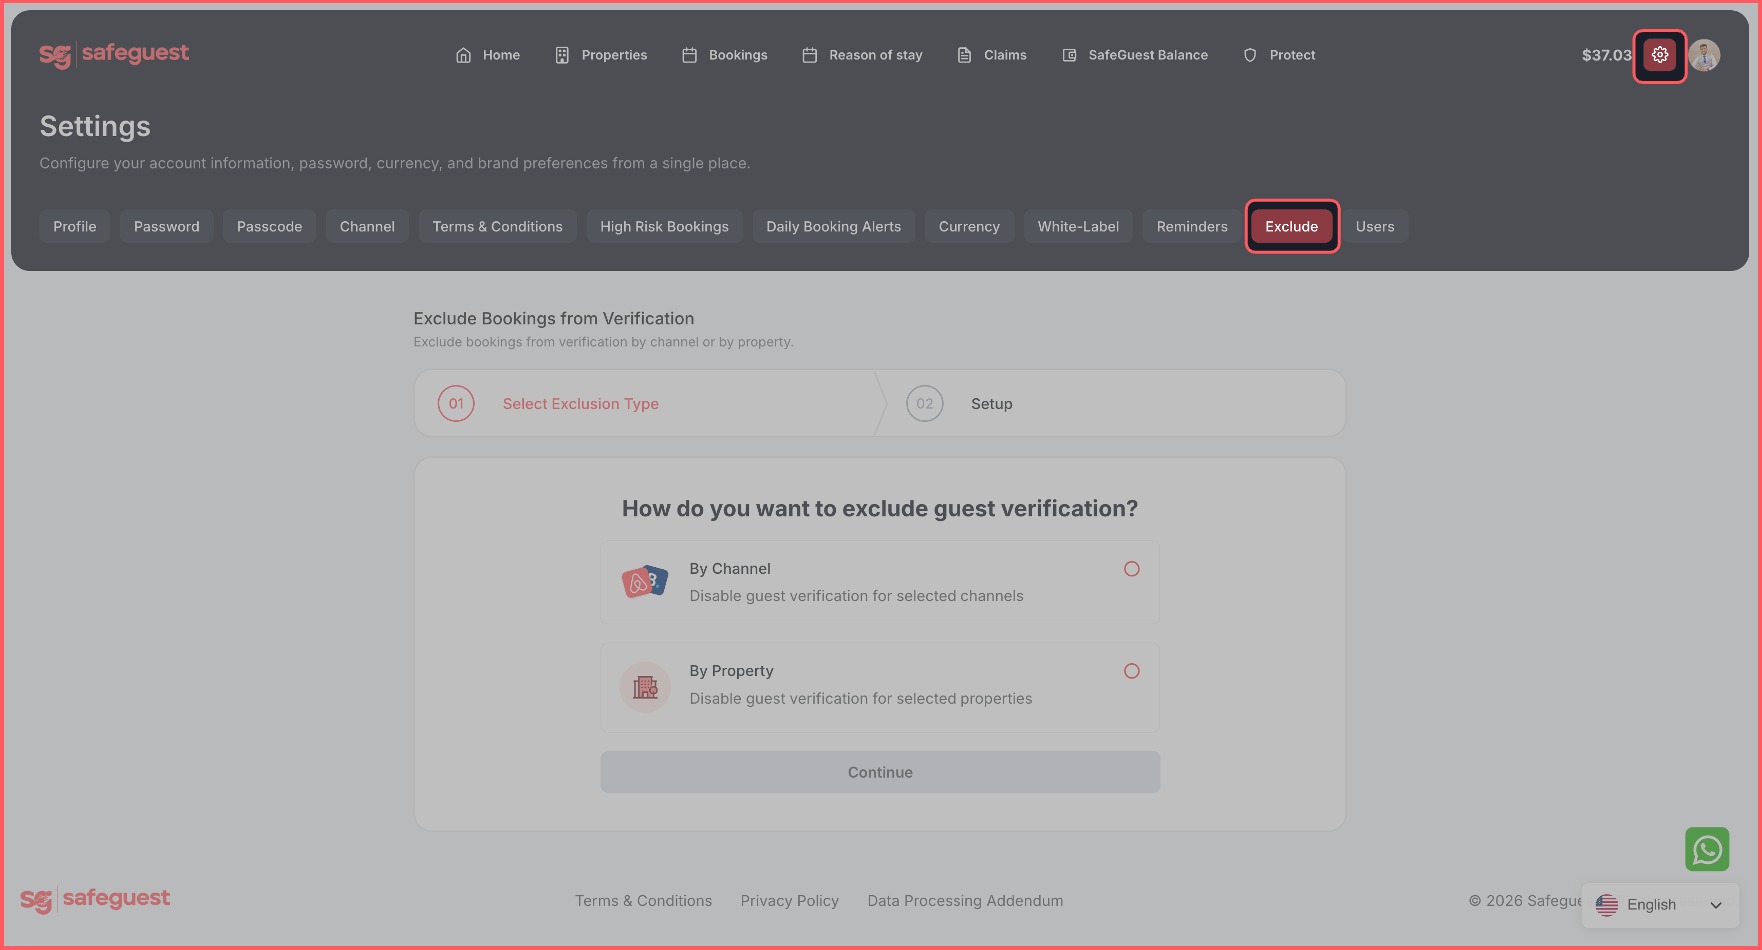
Step 12: Exclude SafeGuest Verification URLs
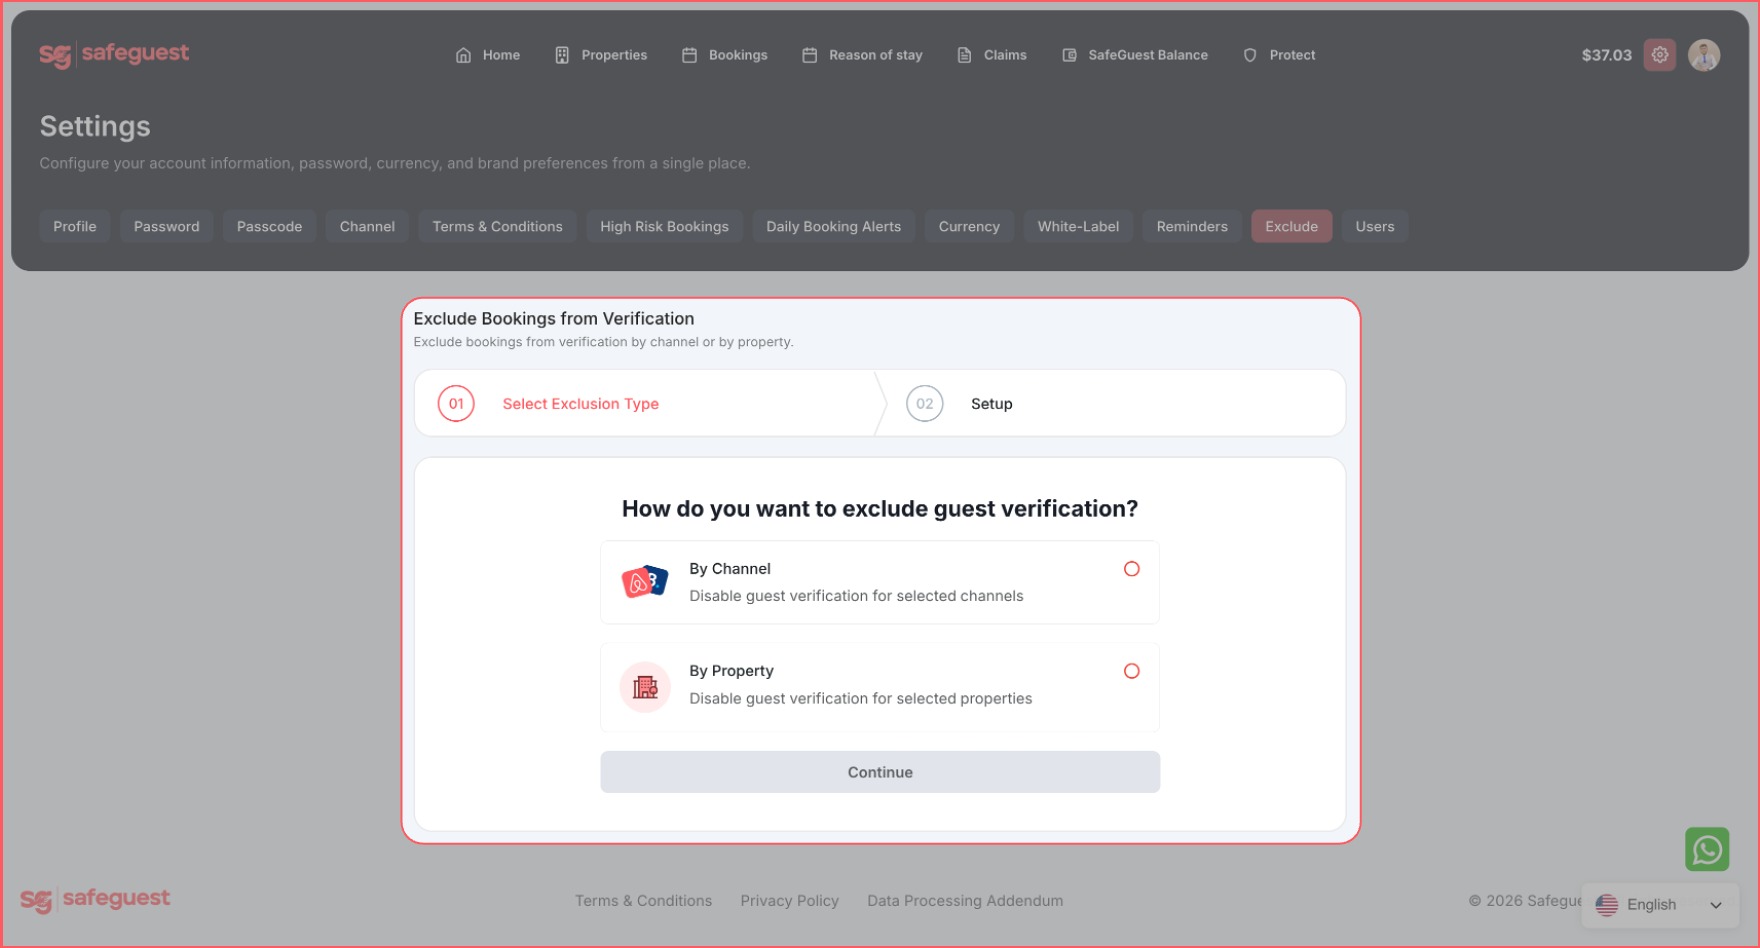
If you don’t want to generate SafeGuest verification URLs for bookings from a specific channel or property, use this Exclude option. You can exclude verification either by channel or by property, then select the specific channel or property you want to exclude and save the setting. To do that:
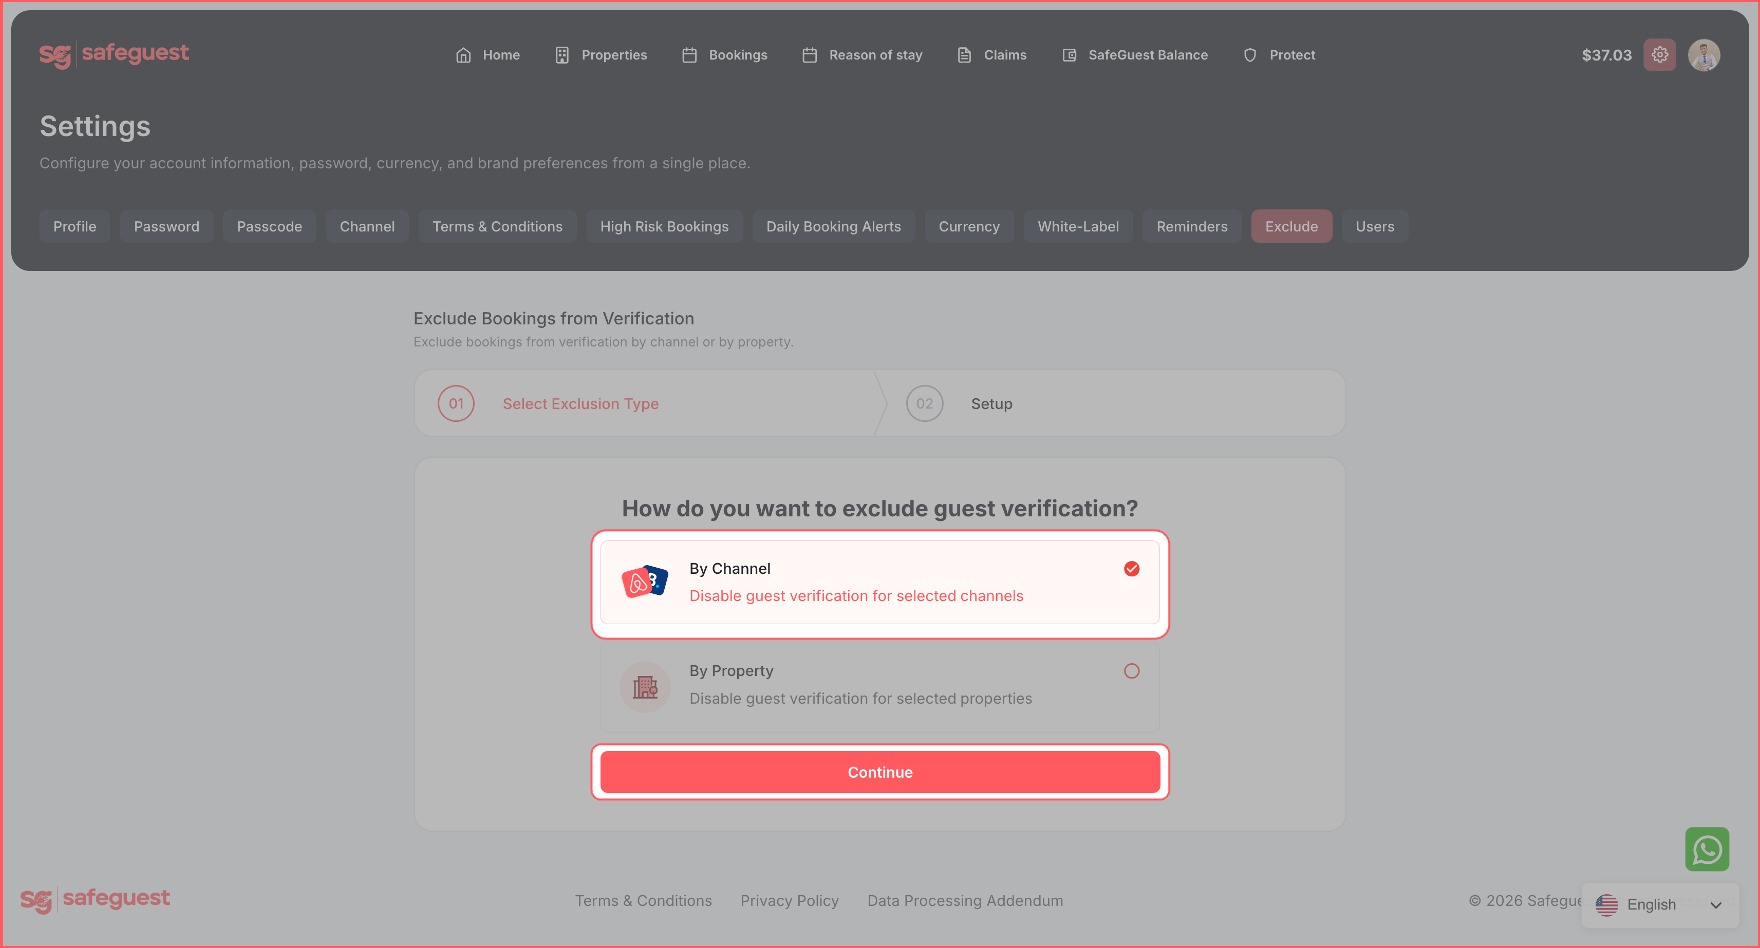
- Click the settings icon, then click the “Exclude” tab.
- Under Exclude Bookings from Verification, choose how you want to exclude guest verification: “By Channel” or “By Property”.
- For the demonstration purpose, let's select “By Channel,” then click “Continue”.
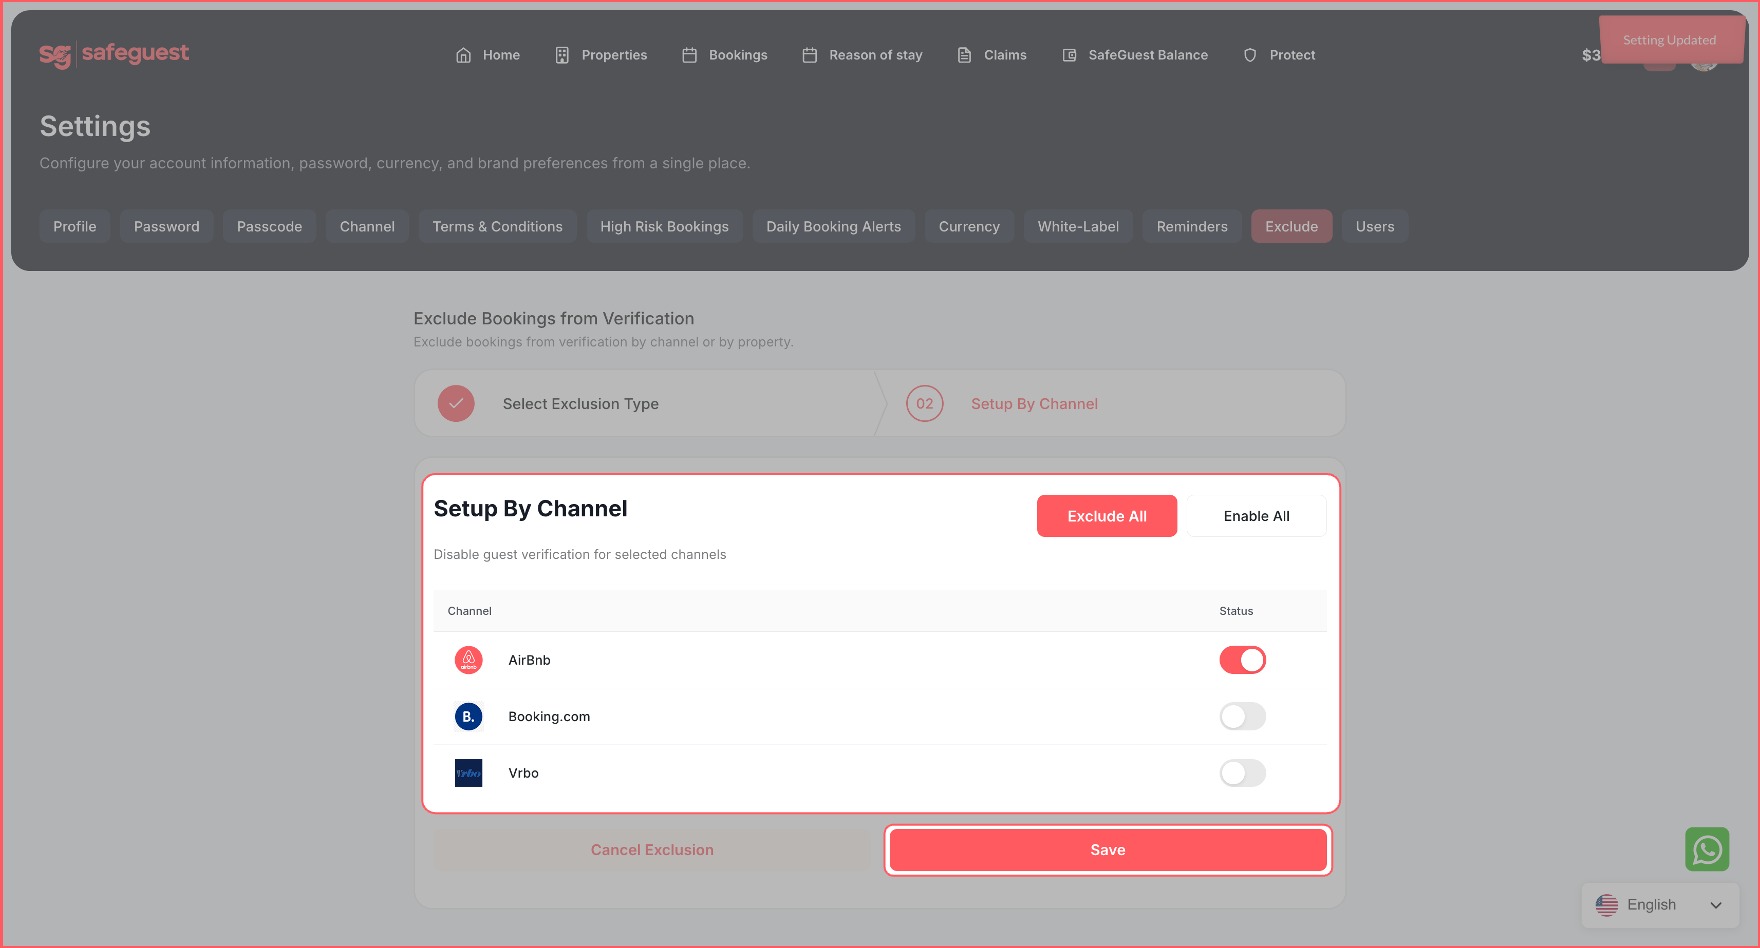
- Turn on the toggle for the channel you want to exclude (in this case, we turned on the AirBnB toggle), then click “Save.”
- If you don’t want to exclude any channel or property, then you can skip this step.
Step 13: Turn On the Verification Process
Finally, turn on the verification process so guests can receive their SafeGuest verification URLs and complete their verification before check-in.
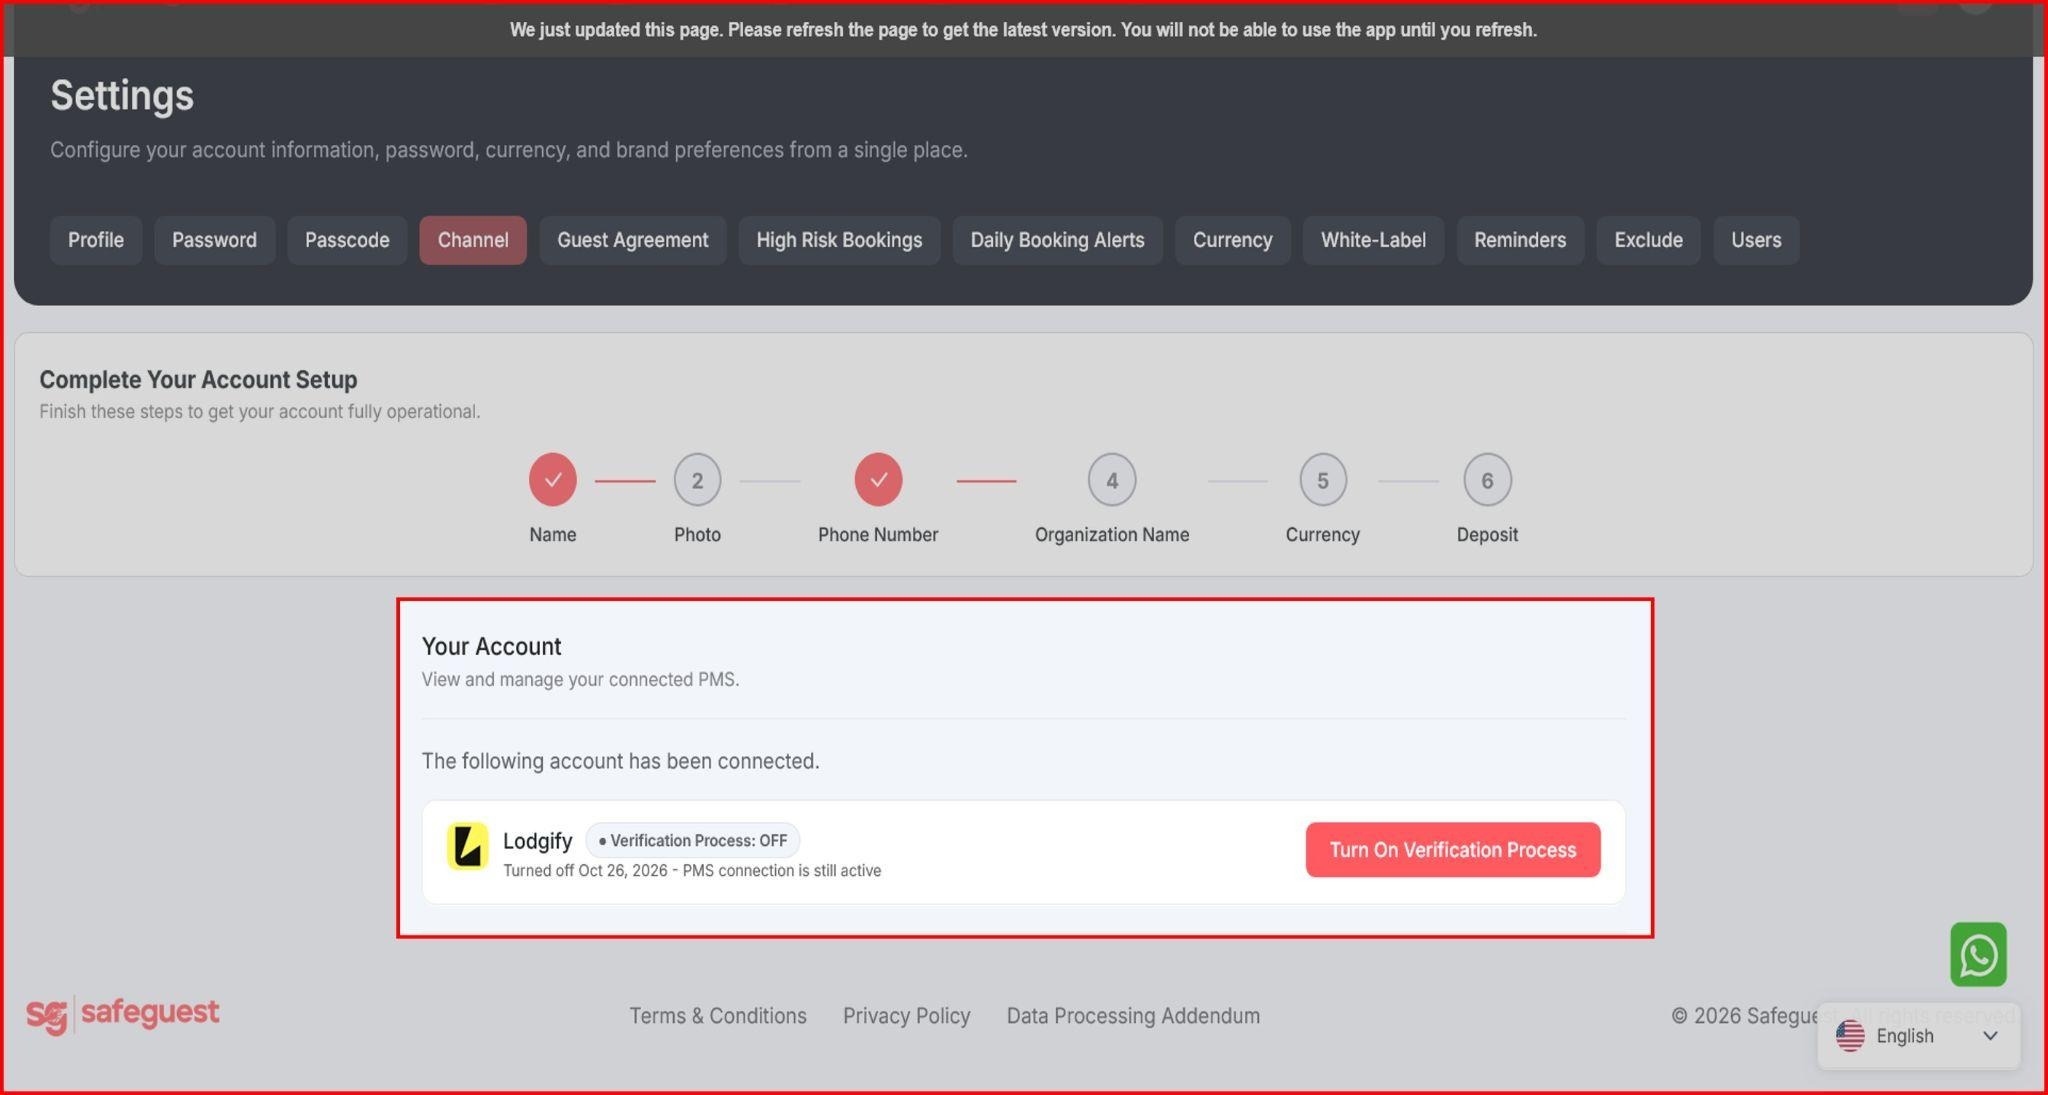
- Go to the “Channel” tab and review the connected Lodgify account. The Verification Process shows as OFF.
- Click the “Turn On Verification Process”.
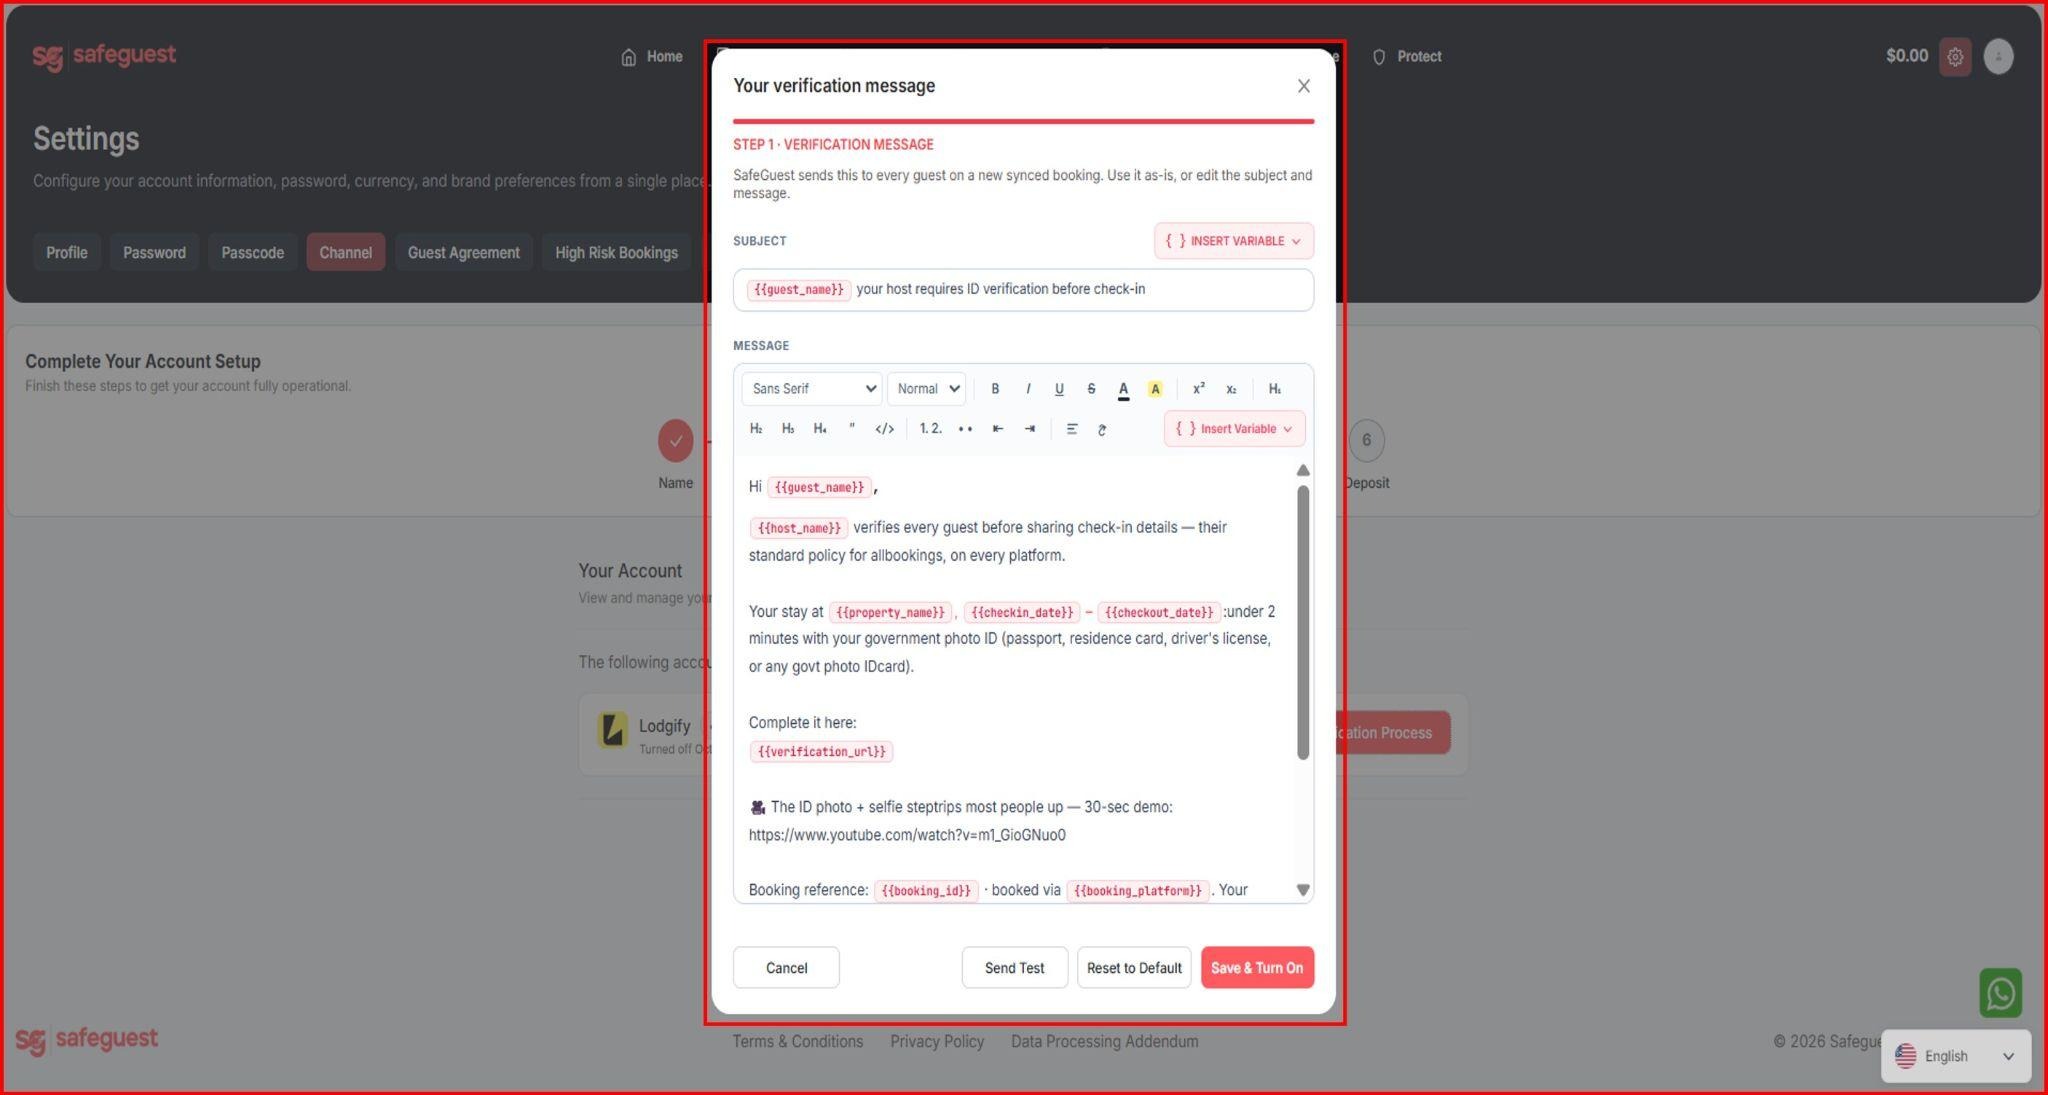
- A pop-up will appear showing the message which the guests will receive.
- You can make changes to the subject and message body as well.
- You can also add variables by clicking the “Insert Variable” button. Clicking on this button will show the available variables.
- Please note that the message body must contain the “{{verification_url}}” variable.
- Once necessary changes are made, click the “Save & Turn On” button.
- After that the status will update to 'Verification Process: ON'.
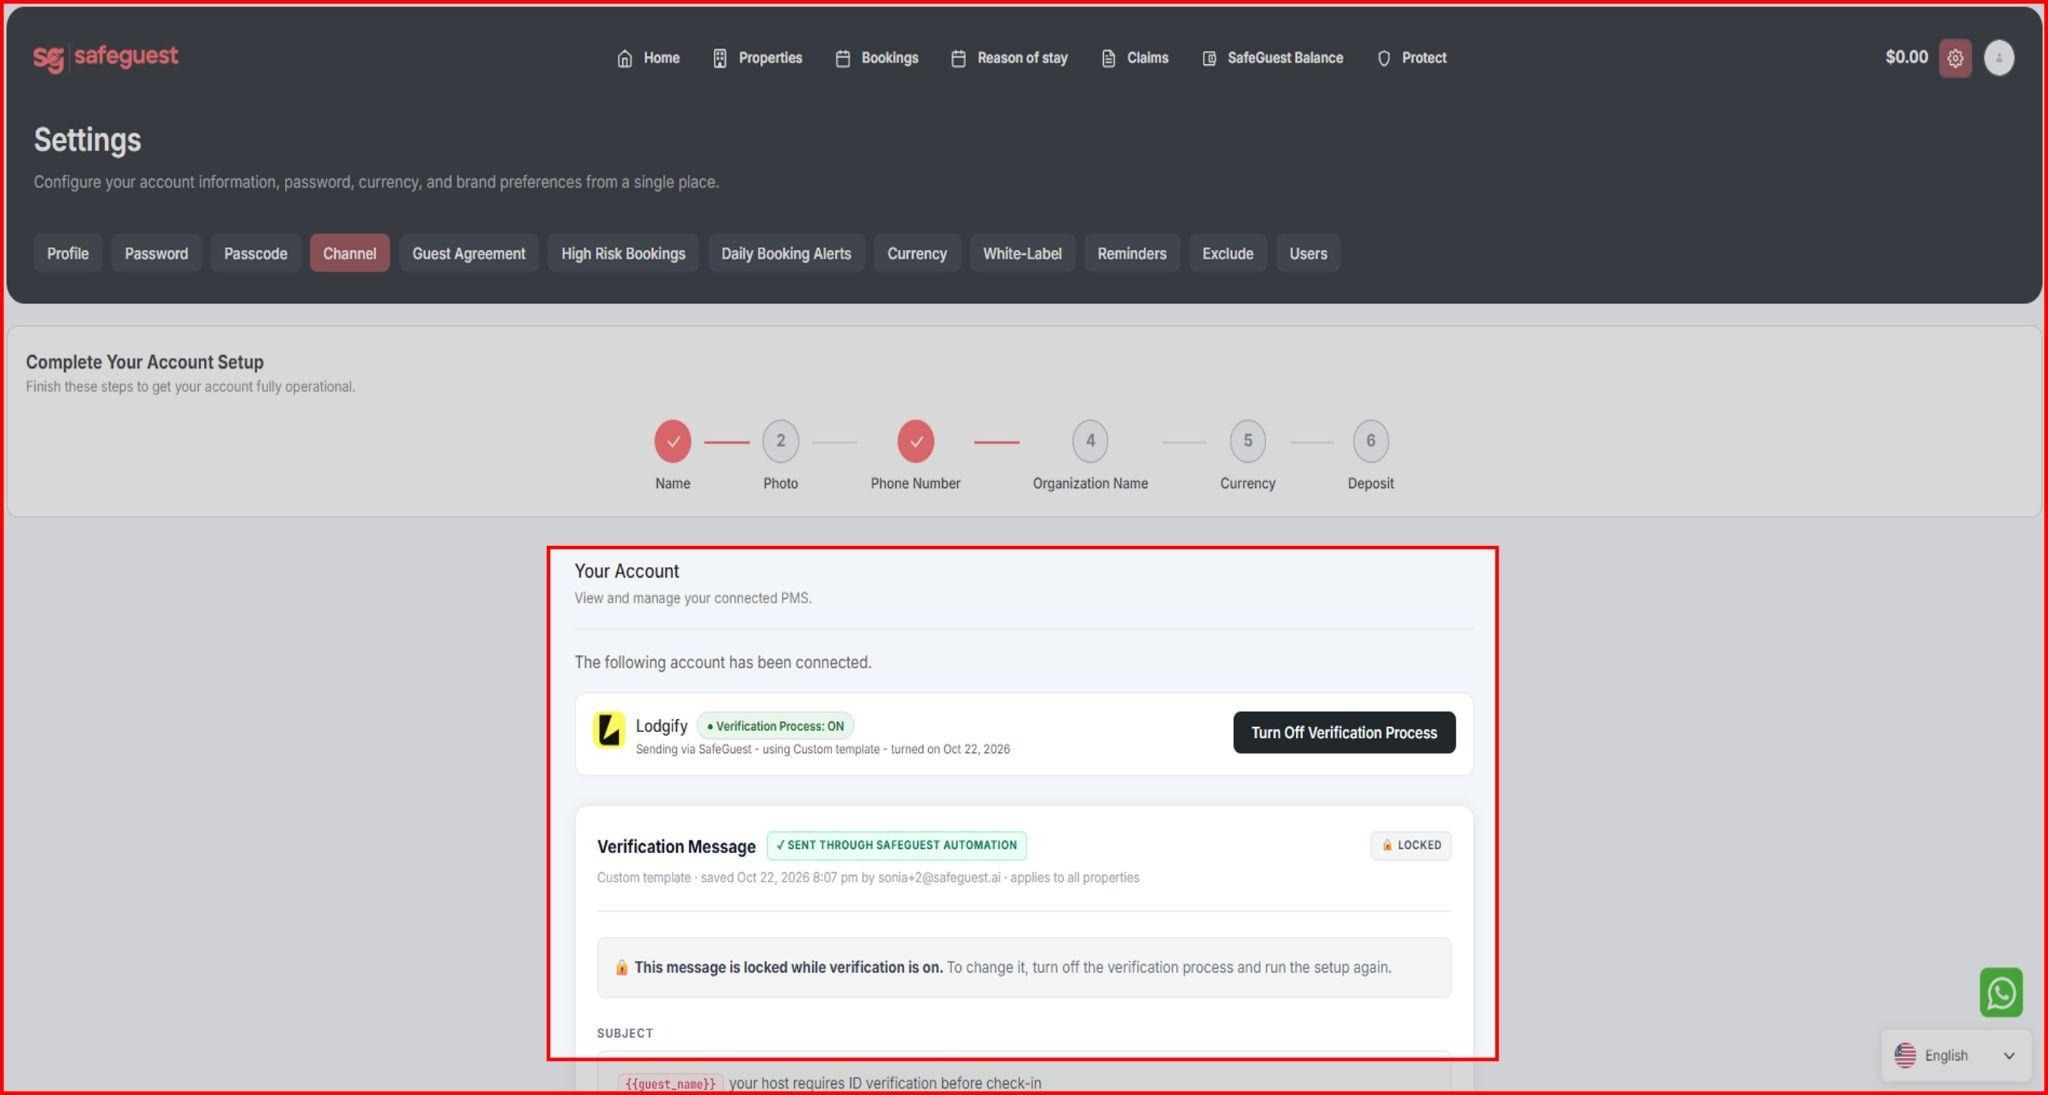
Step 14: Verify Your Properties in SafeGuest
- Go back to the browser tab with your SafeGuest dashboard.
- Click on the Properties page from the main menu.
- Wait if needed: synchronization usually takes less than 1 minute to complete.
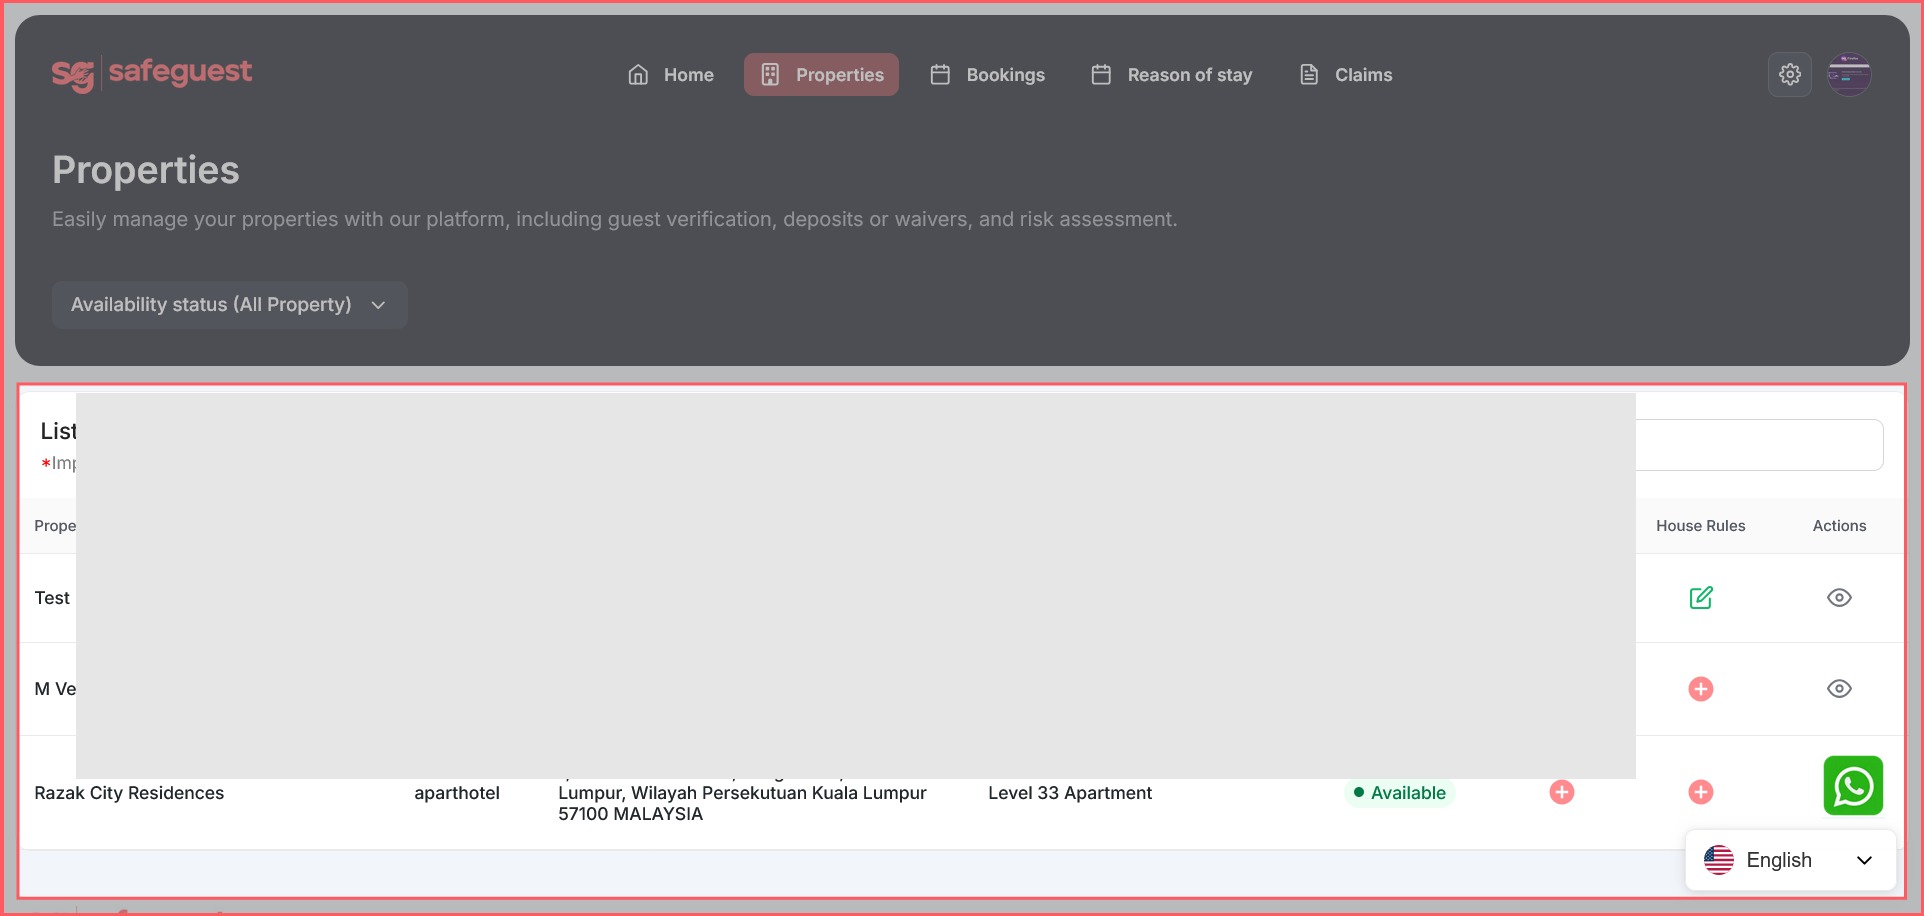
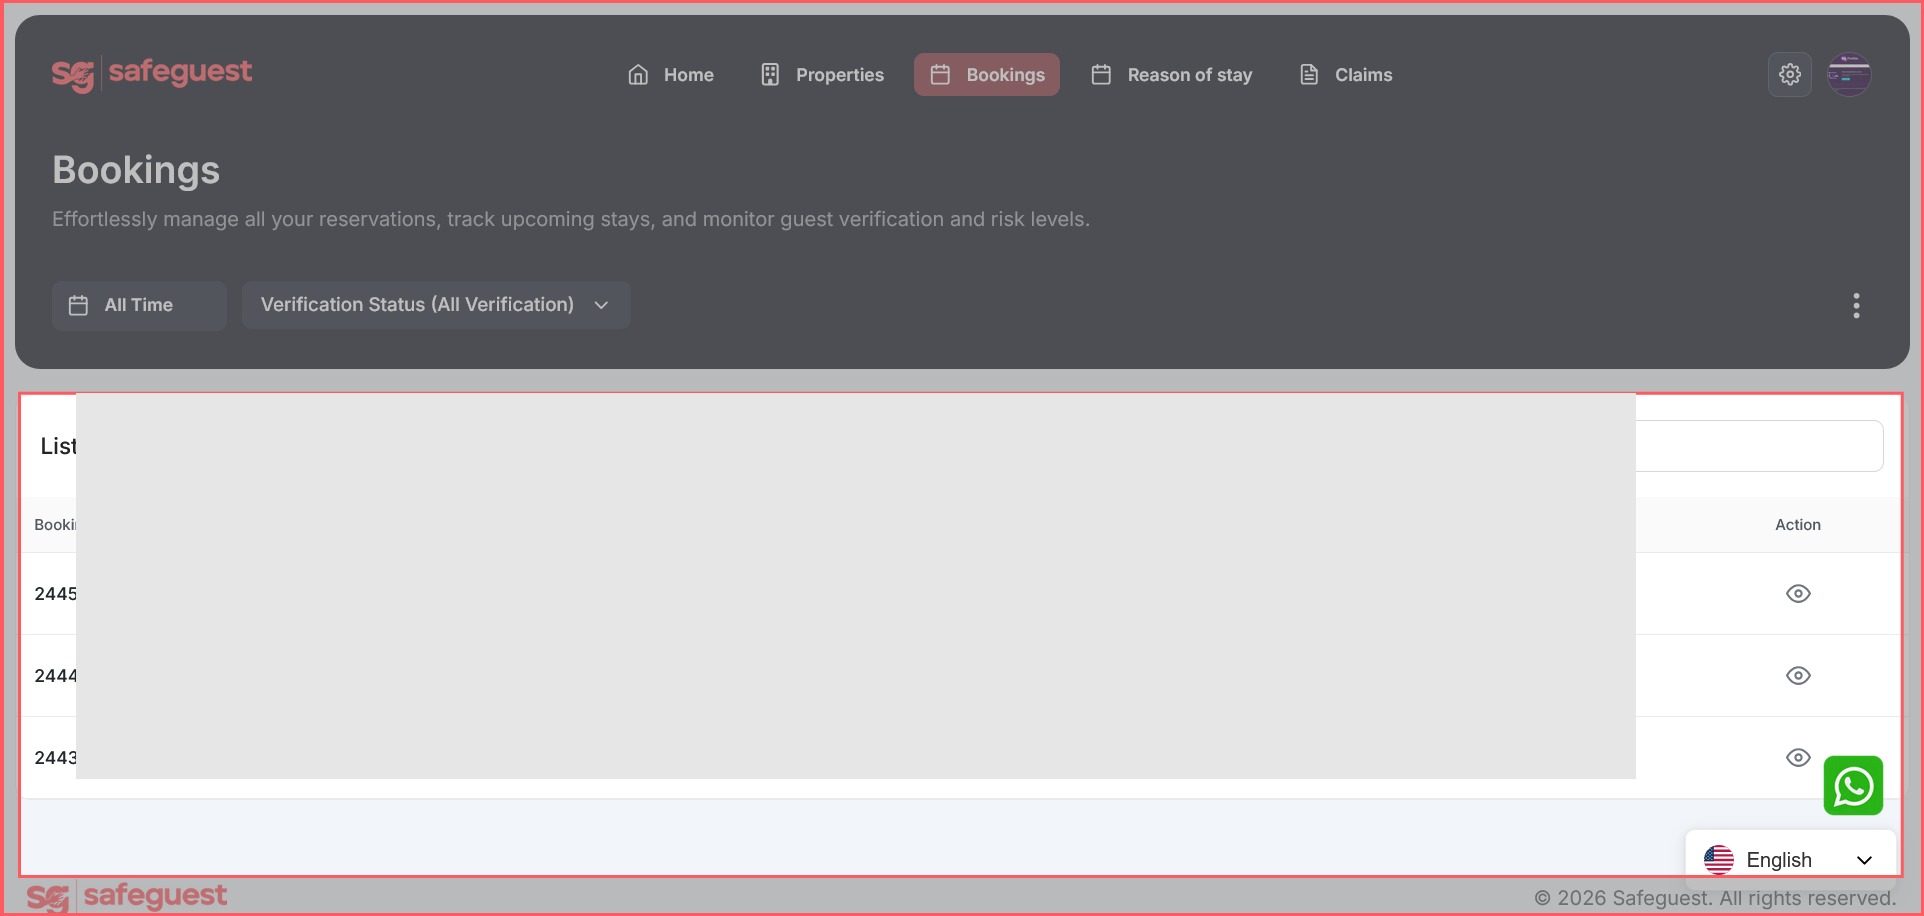
Step 15: Verify Your Bookings
- Open the Bookings page: Click on Bookings in the navigation menu
- Review upcoming bookings
- View booking details: Click the Eye icon next to a booking to open and review details
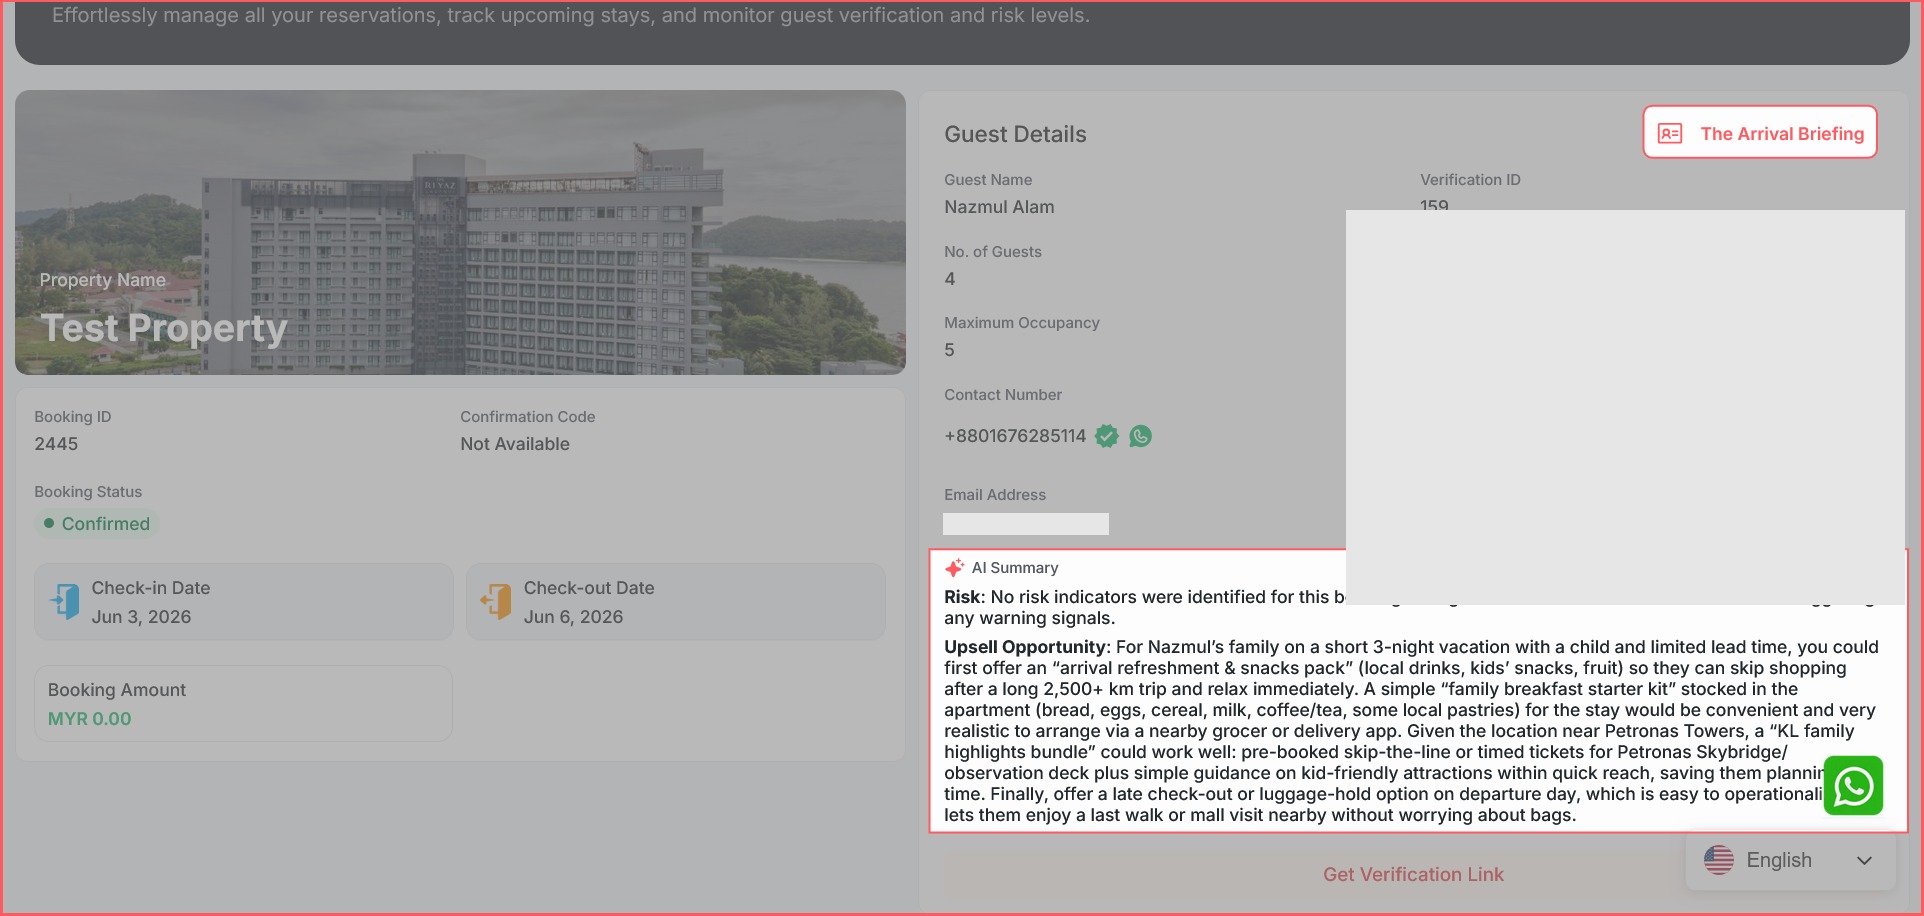
- Wait for the guest to complete verification: Once the guest has successfully completed the SafeGuest verification process, additional information will become available within the booking details
- Review the guest’s Arrival Briefing to access relevant booking and stay information
- Review the guest’s Risk Score to better assess potential booking risks
- Read the AI-generated Summary for an overview of the guest verification results
- View booking details: Click the Eye icon next to a booking to open and review details
Know before they knock.
Safeguest Prevent verifies every guest before arrival. Free for hosts.